Before
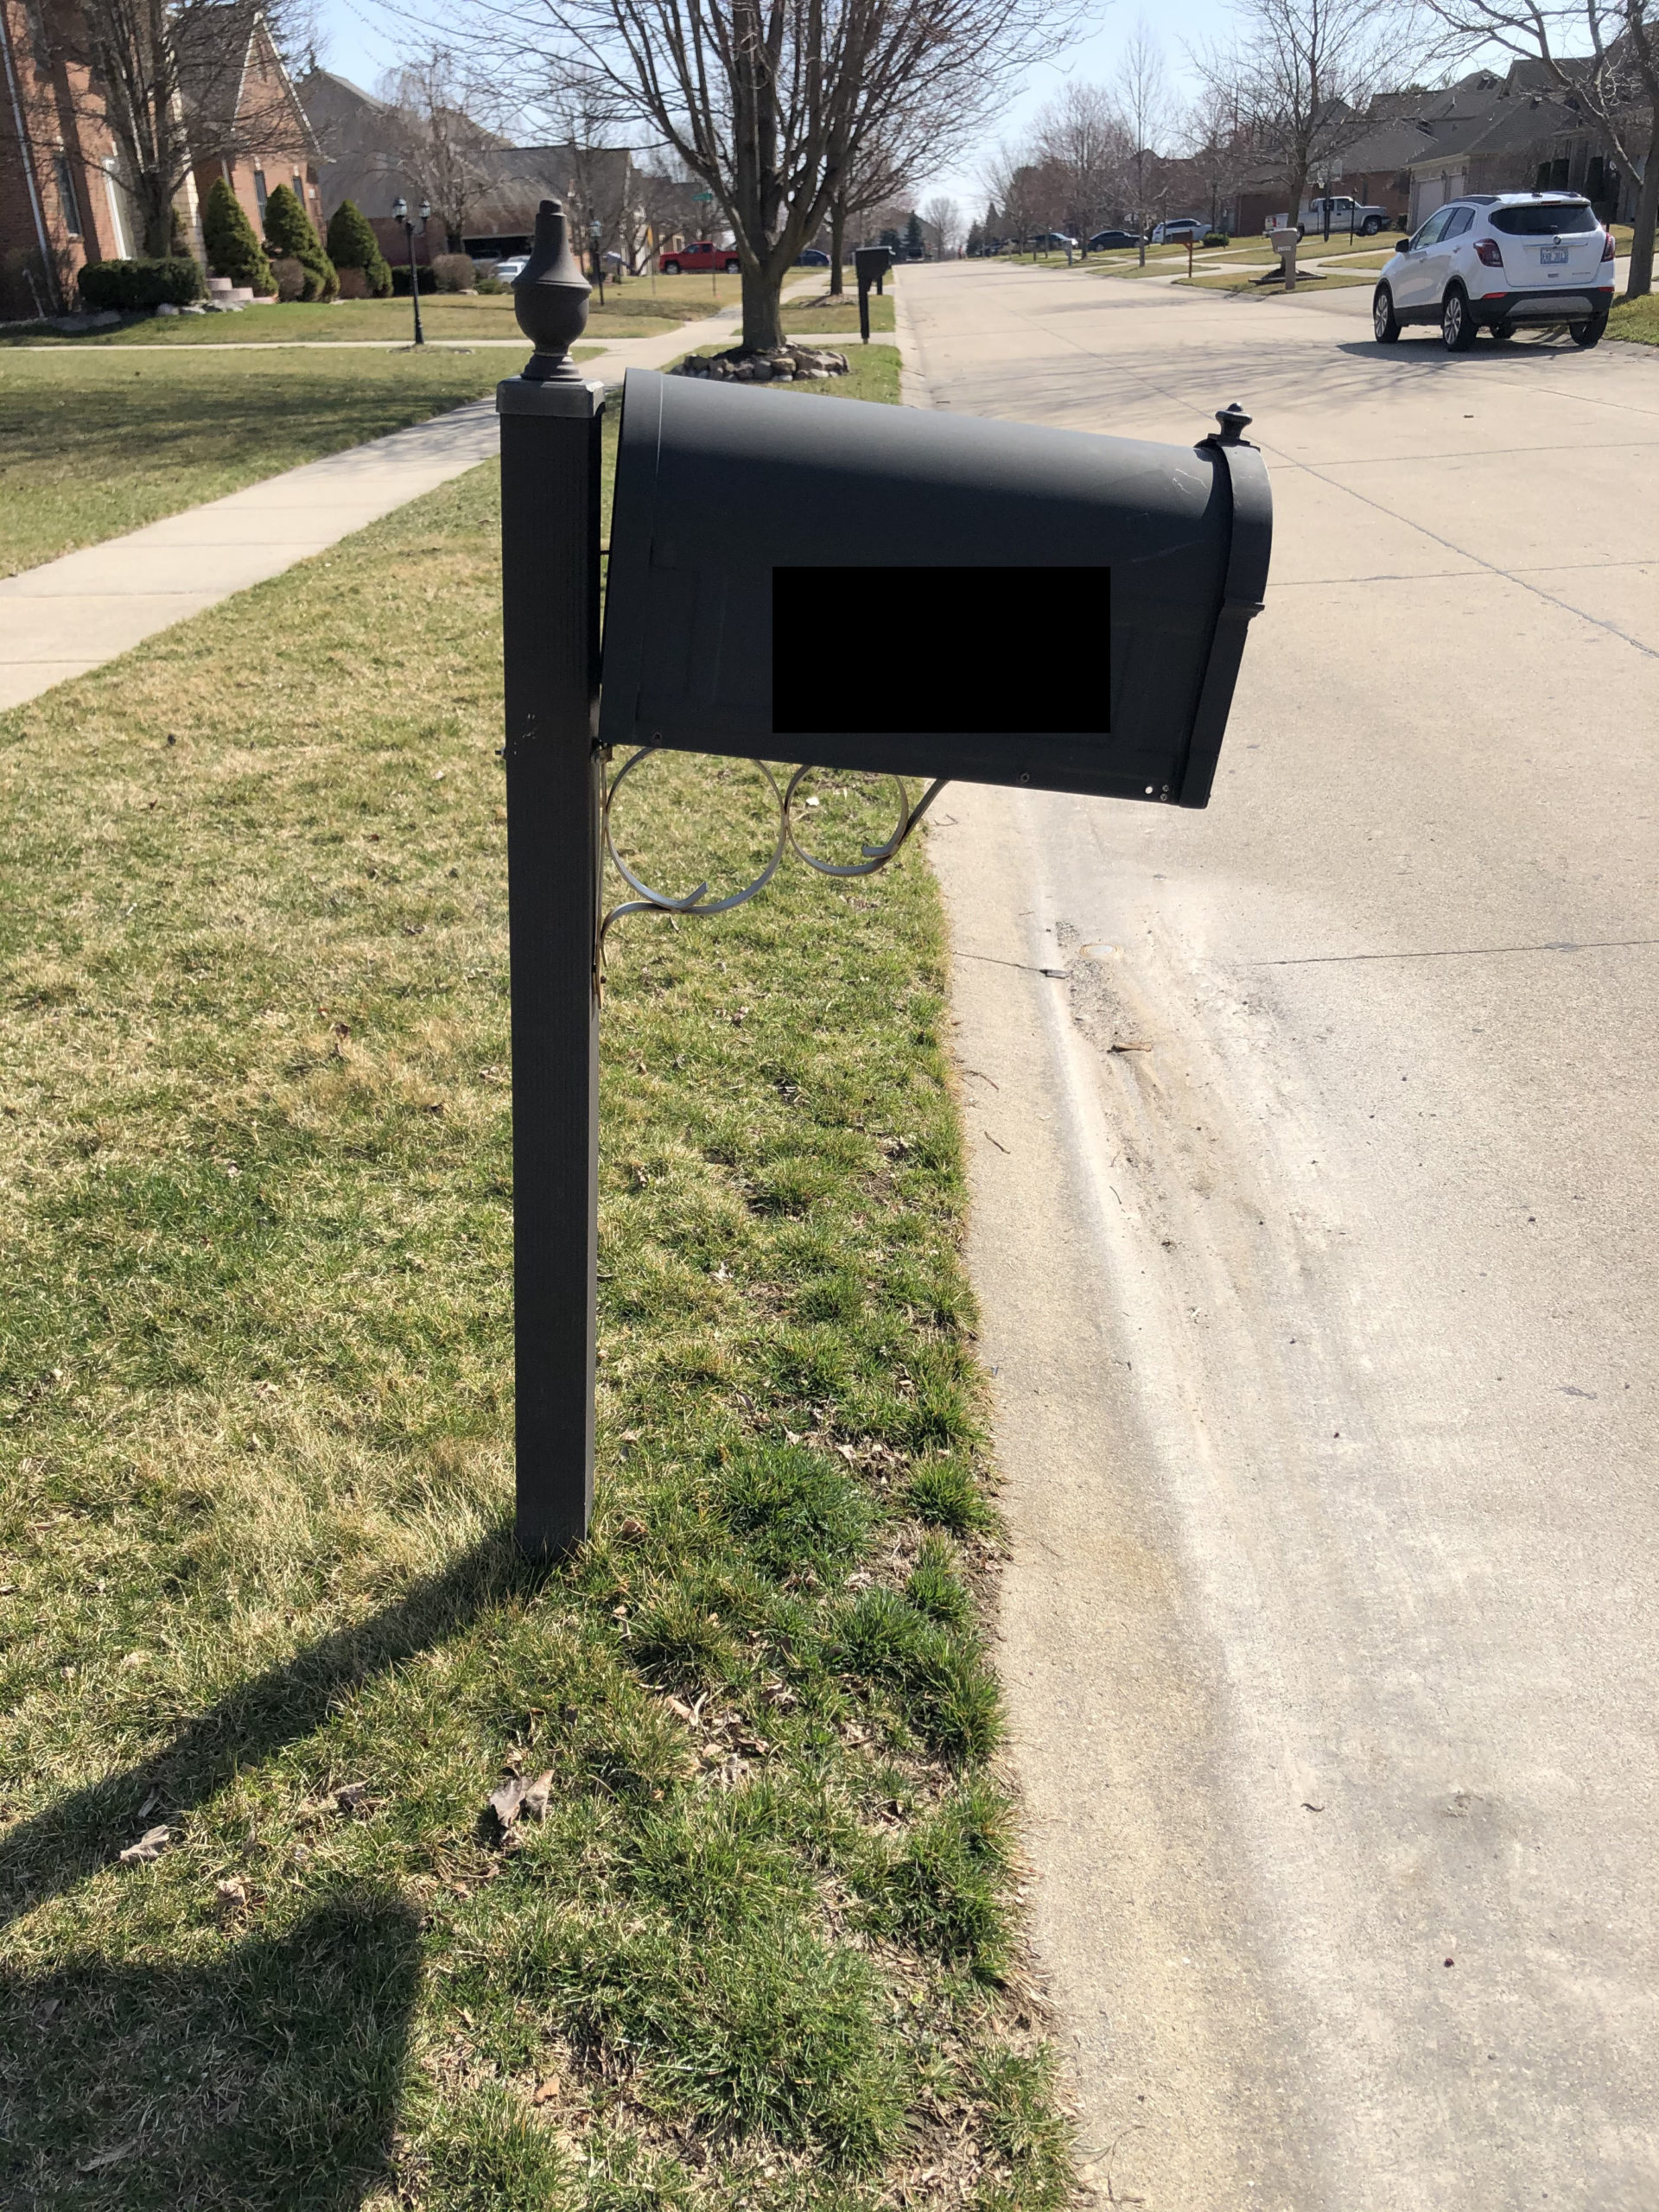
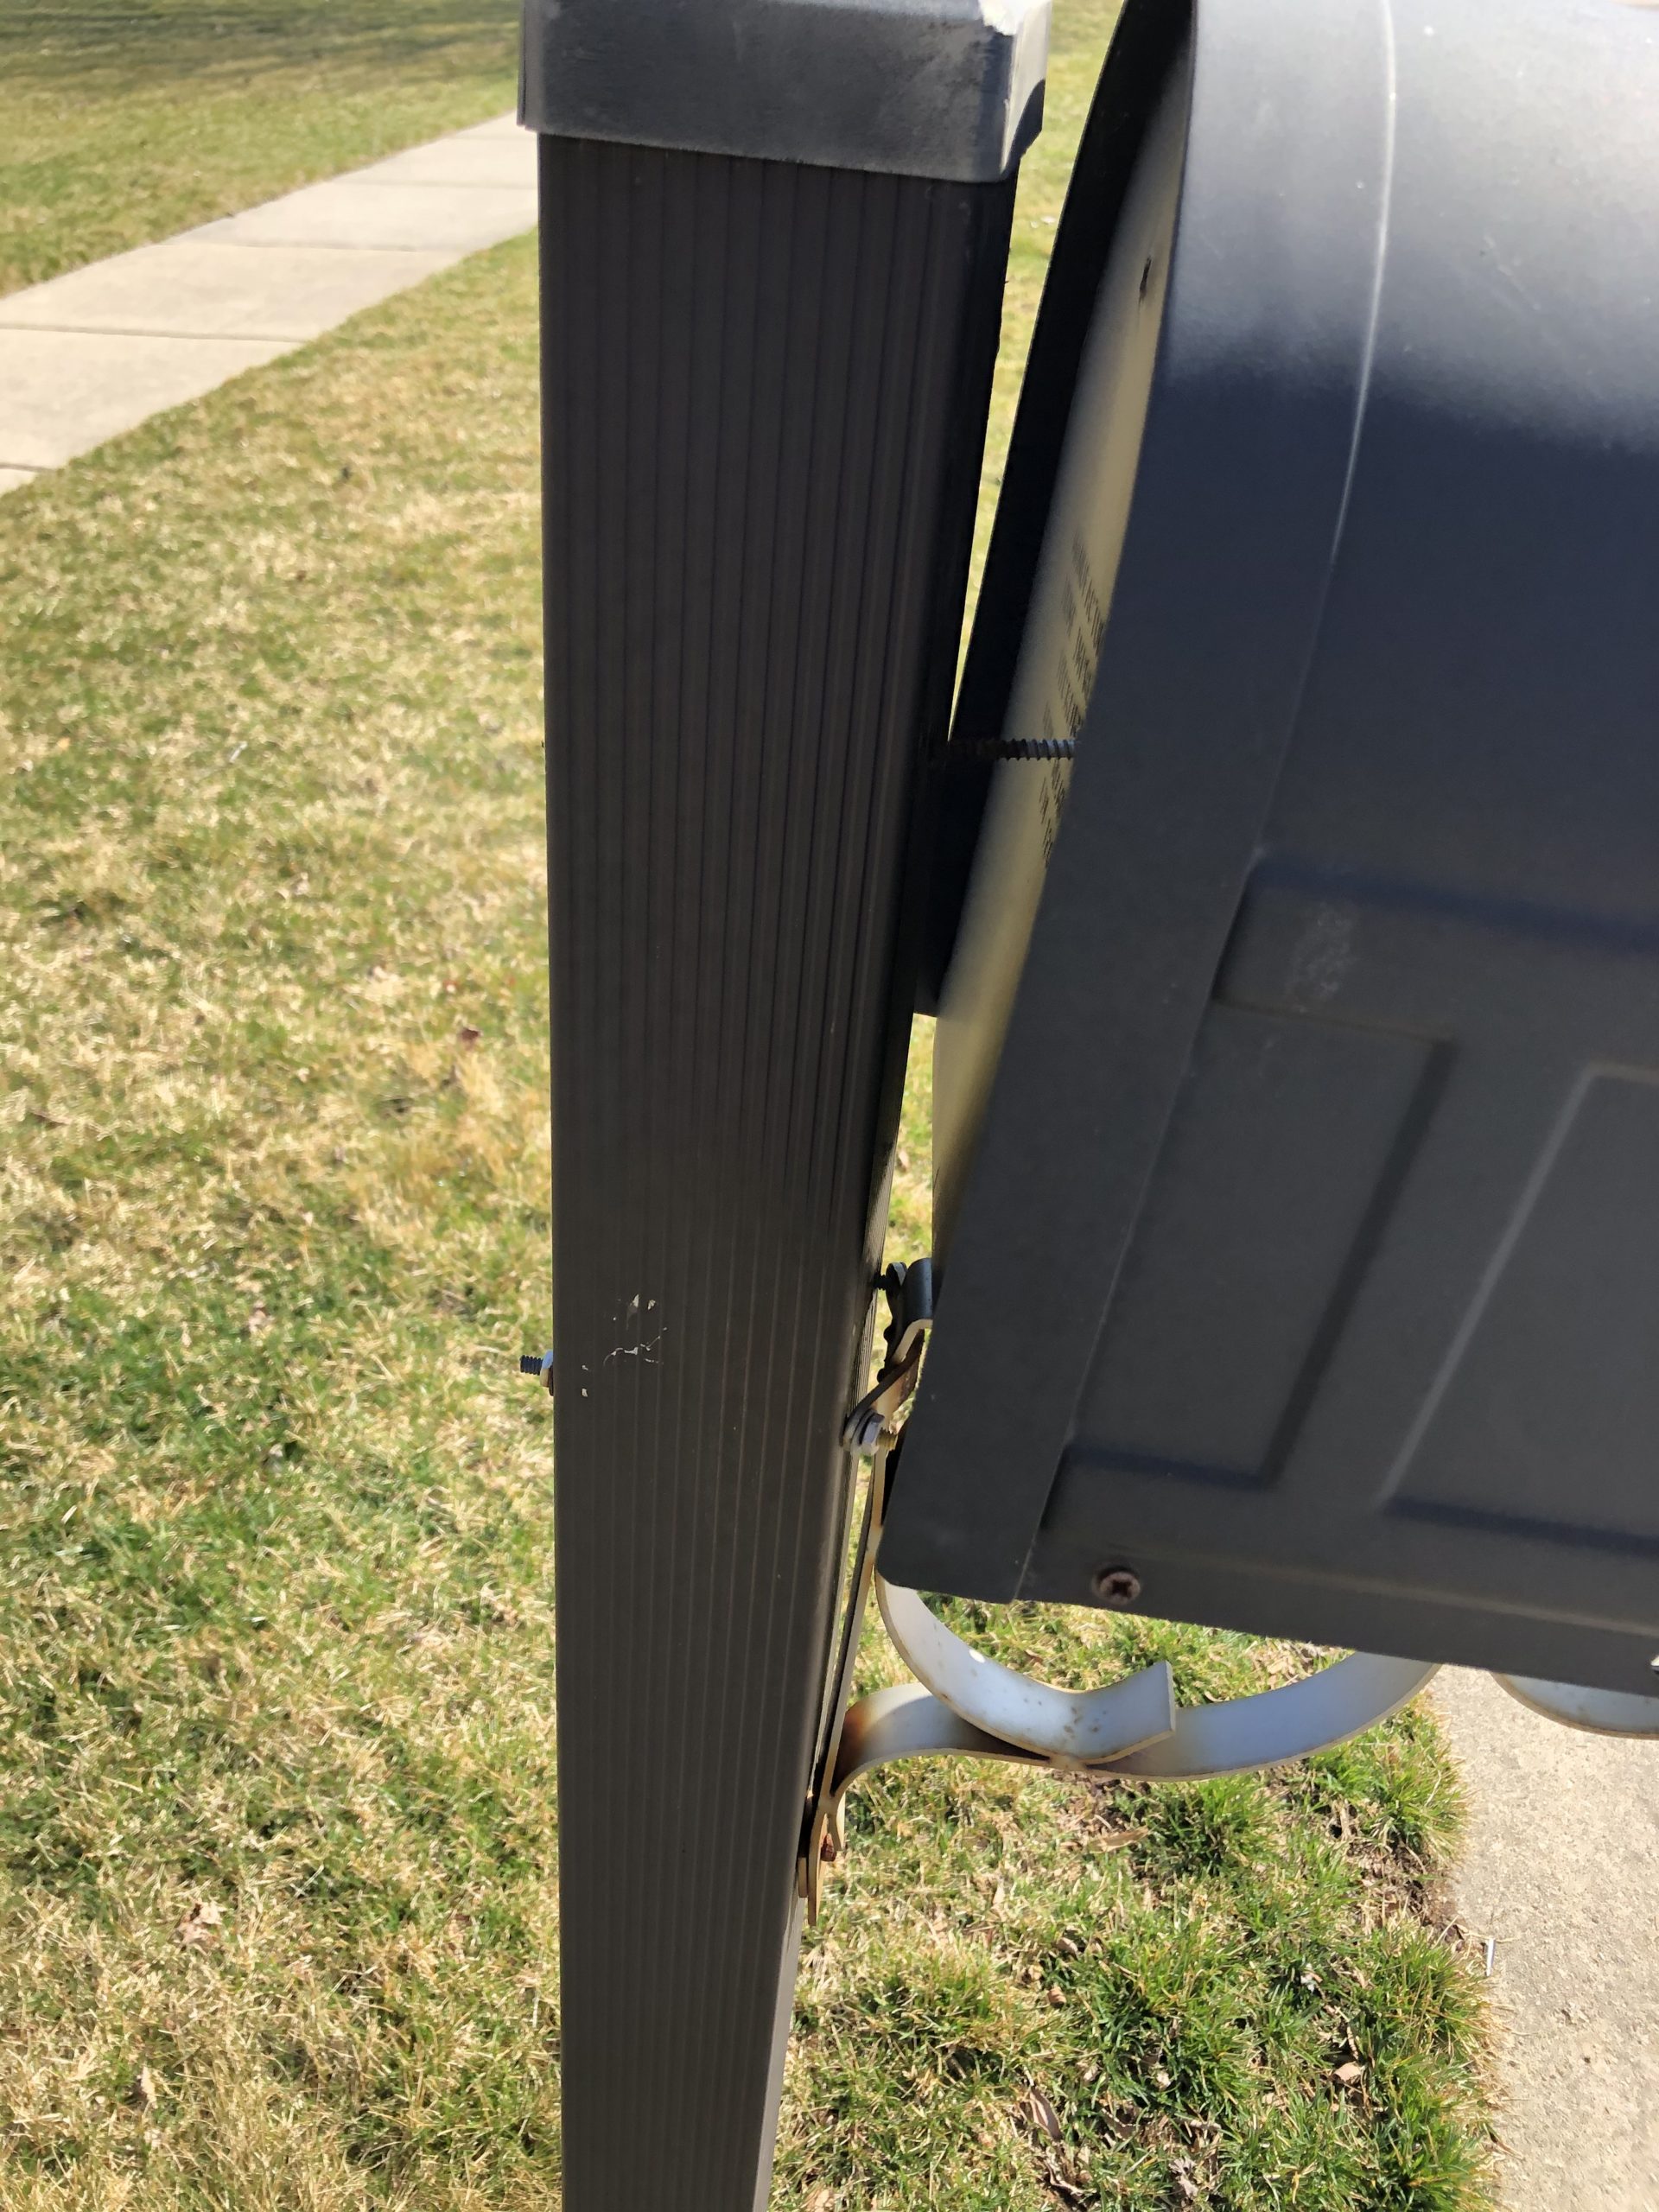
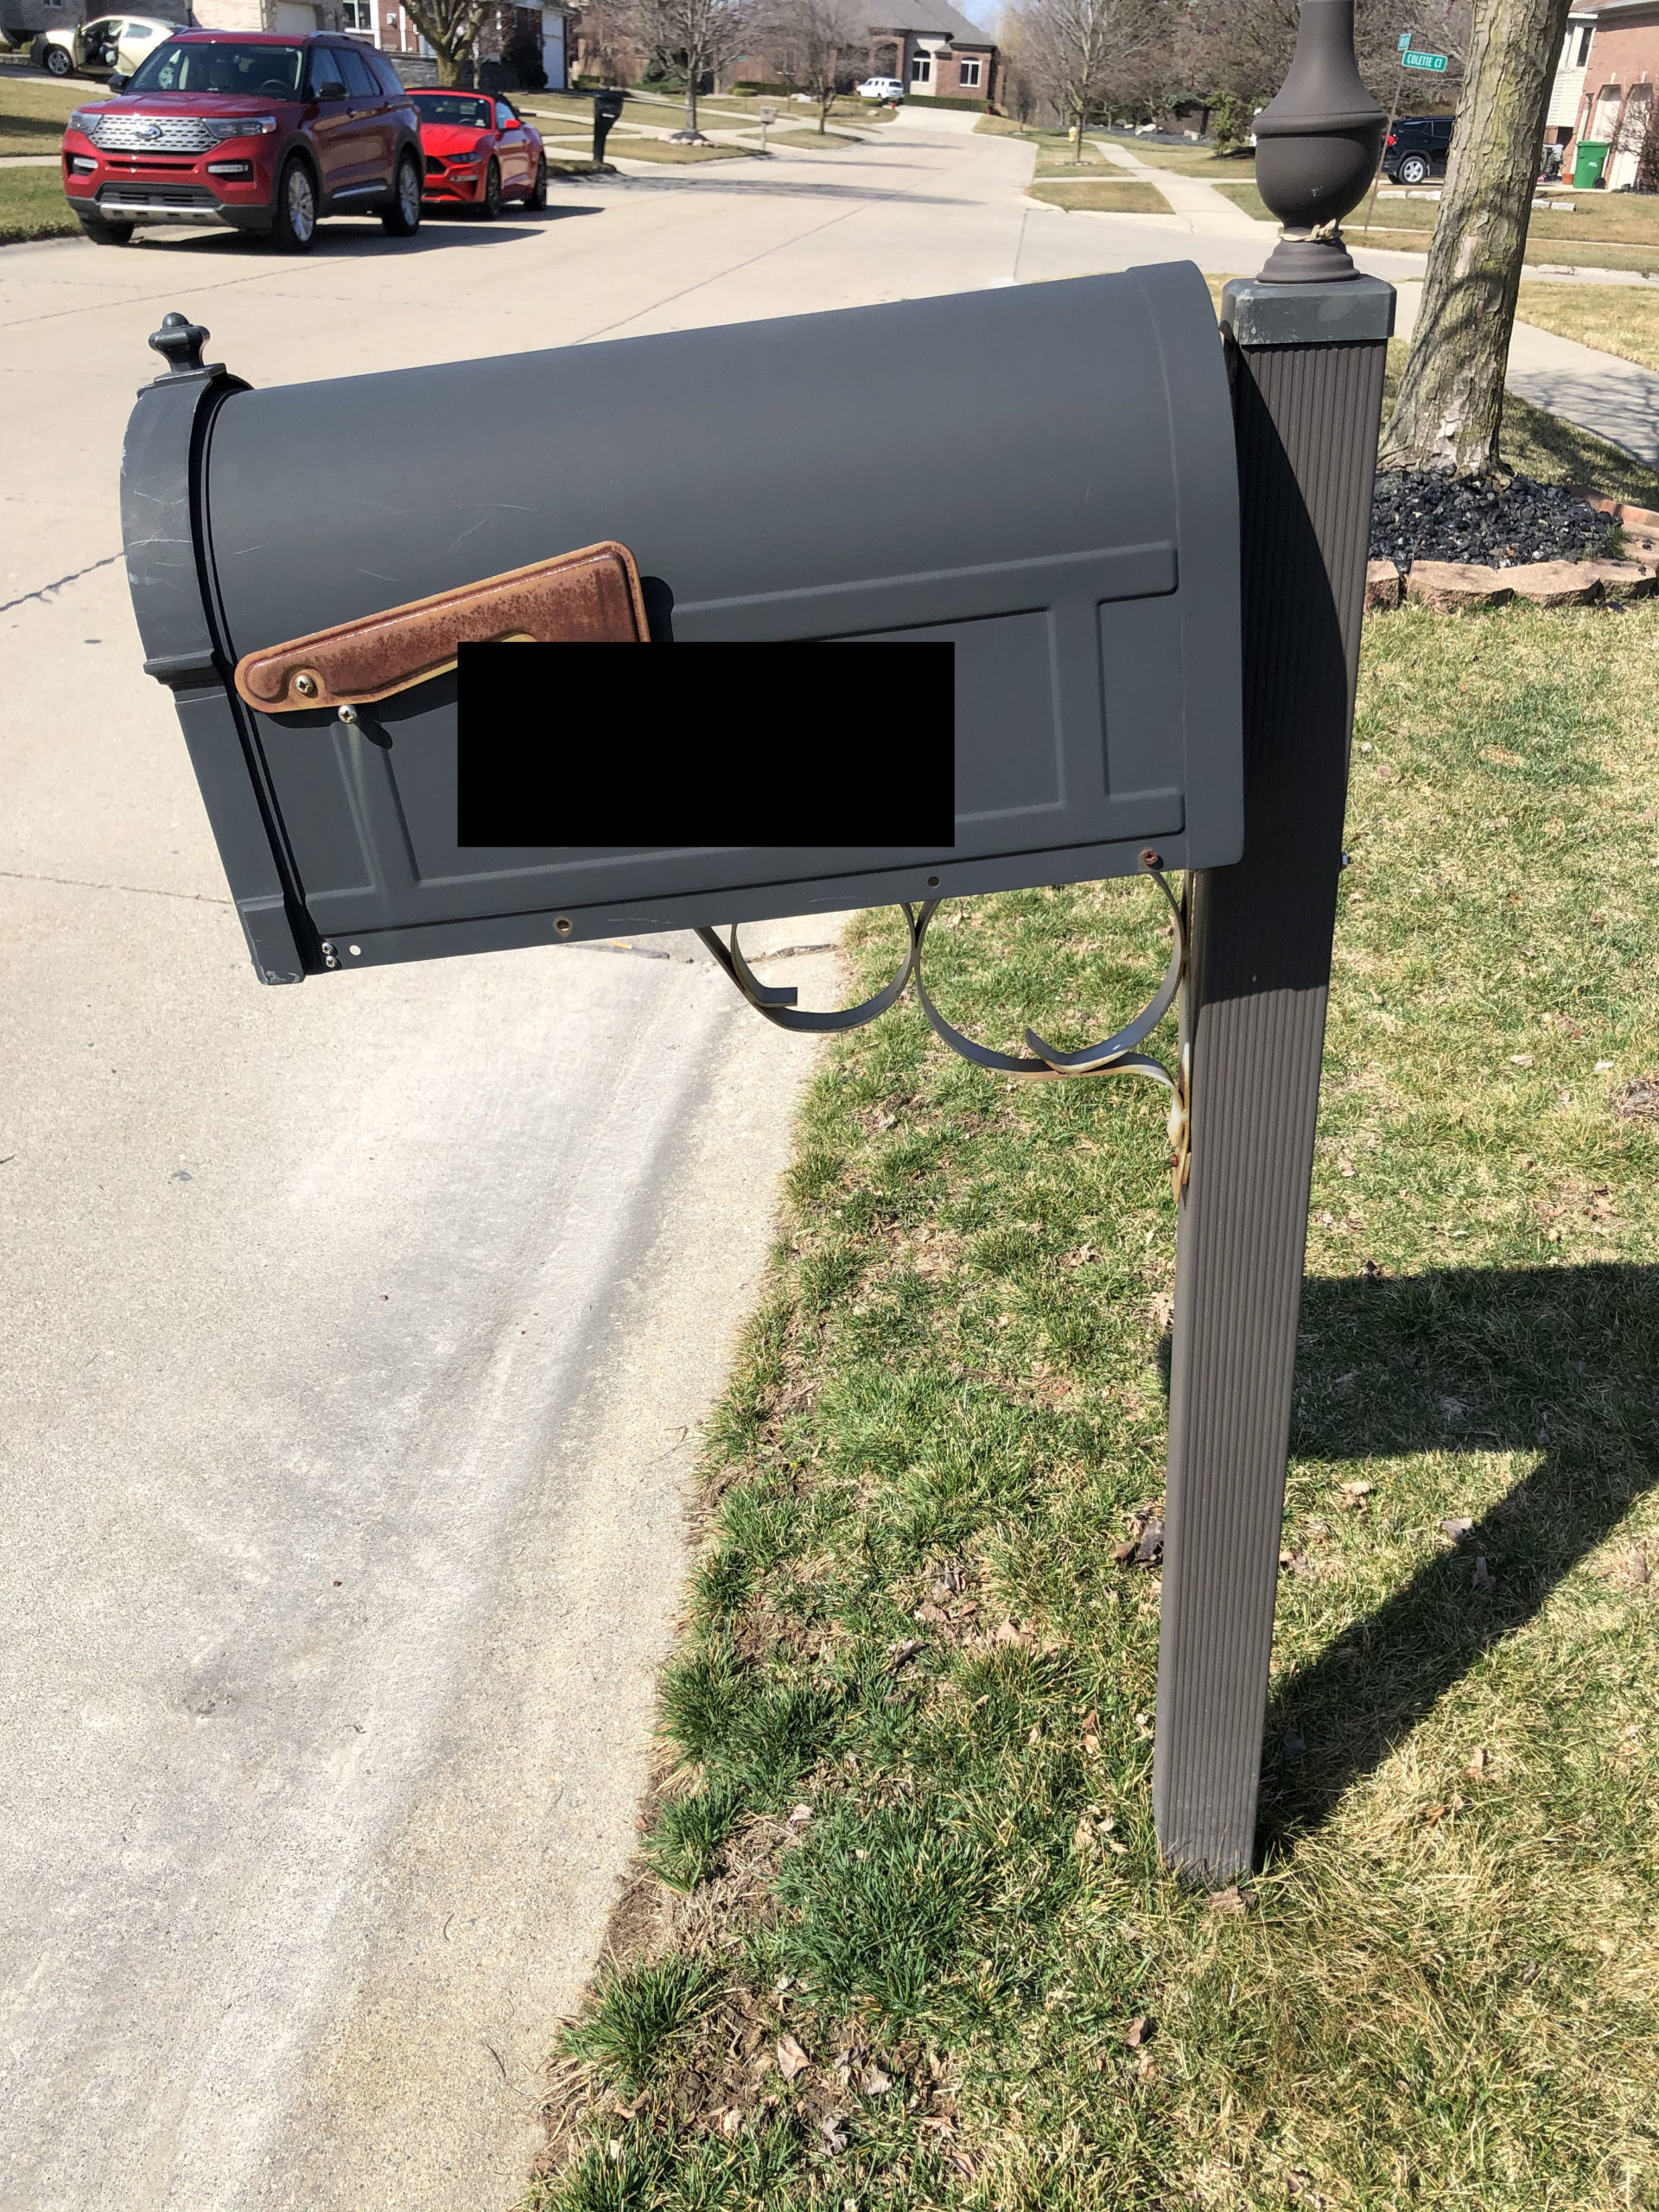
This is our old and worn out mailbox and was like this when we bought the house. In a year timeframe it actually got worse and the post was leaning forward causing mailbox to open up (poor magnet too). One time, it got opened and our mail contents were all over the street. Needless to say it was a time for an upgrade
During
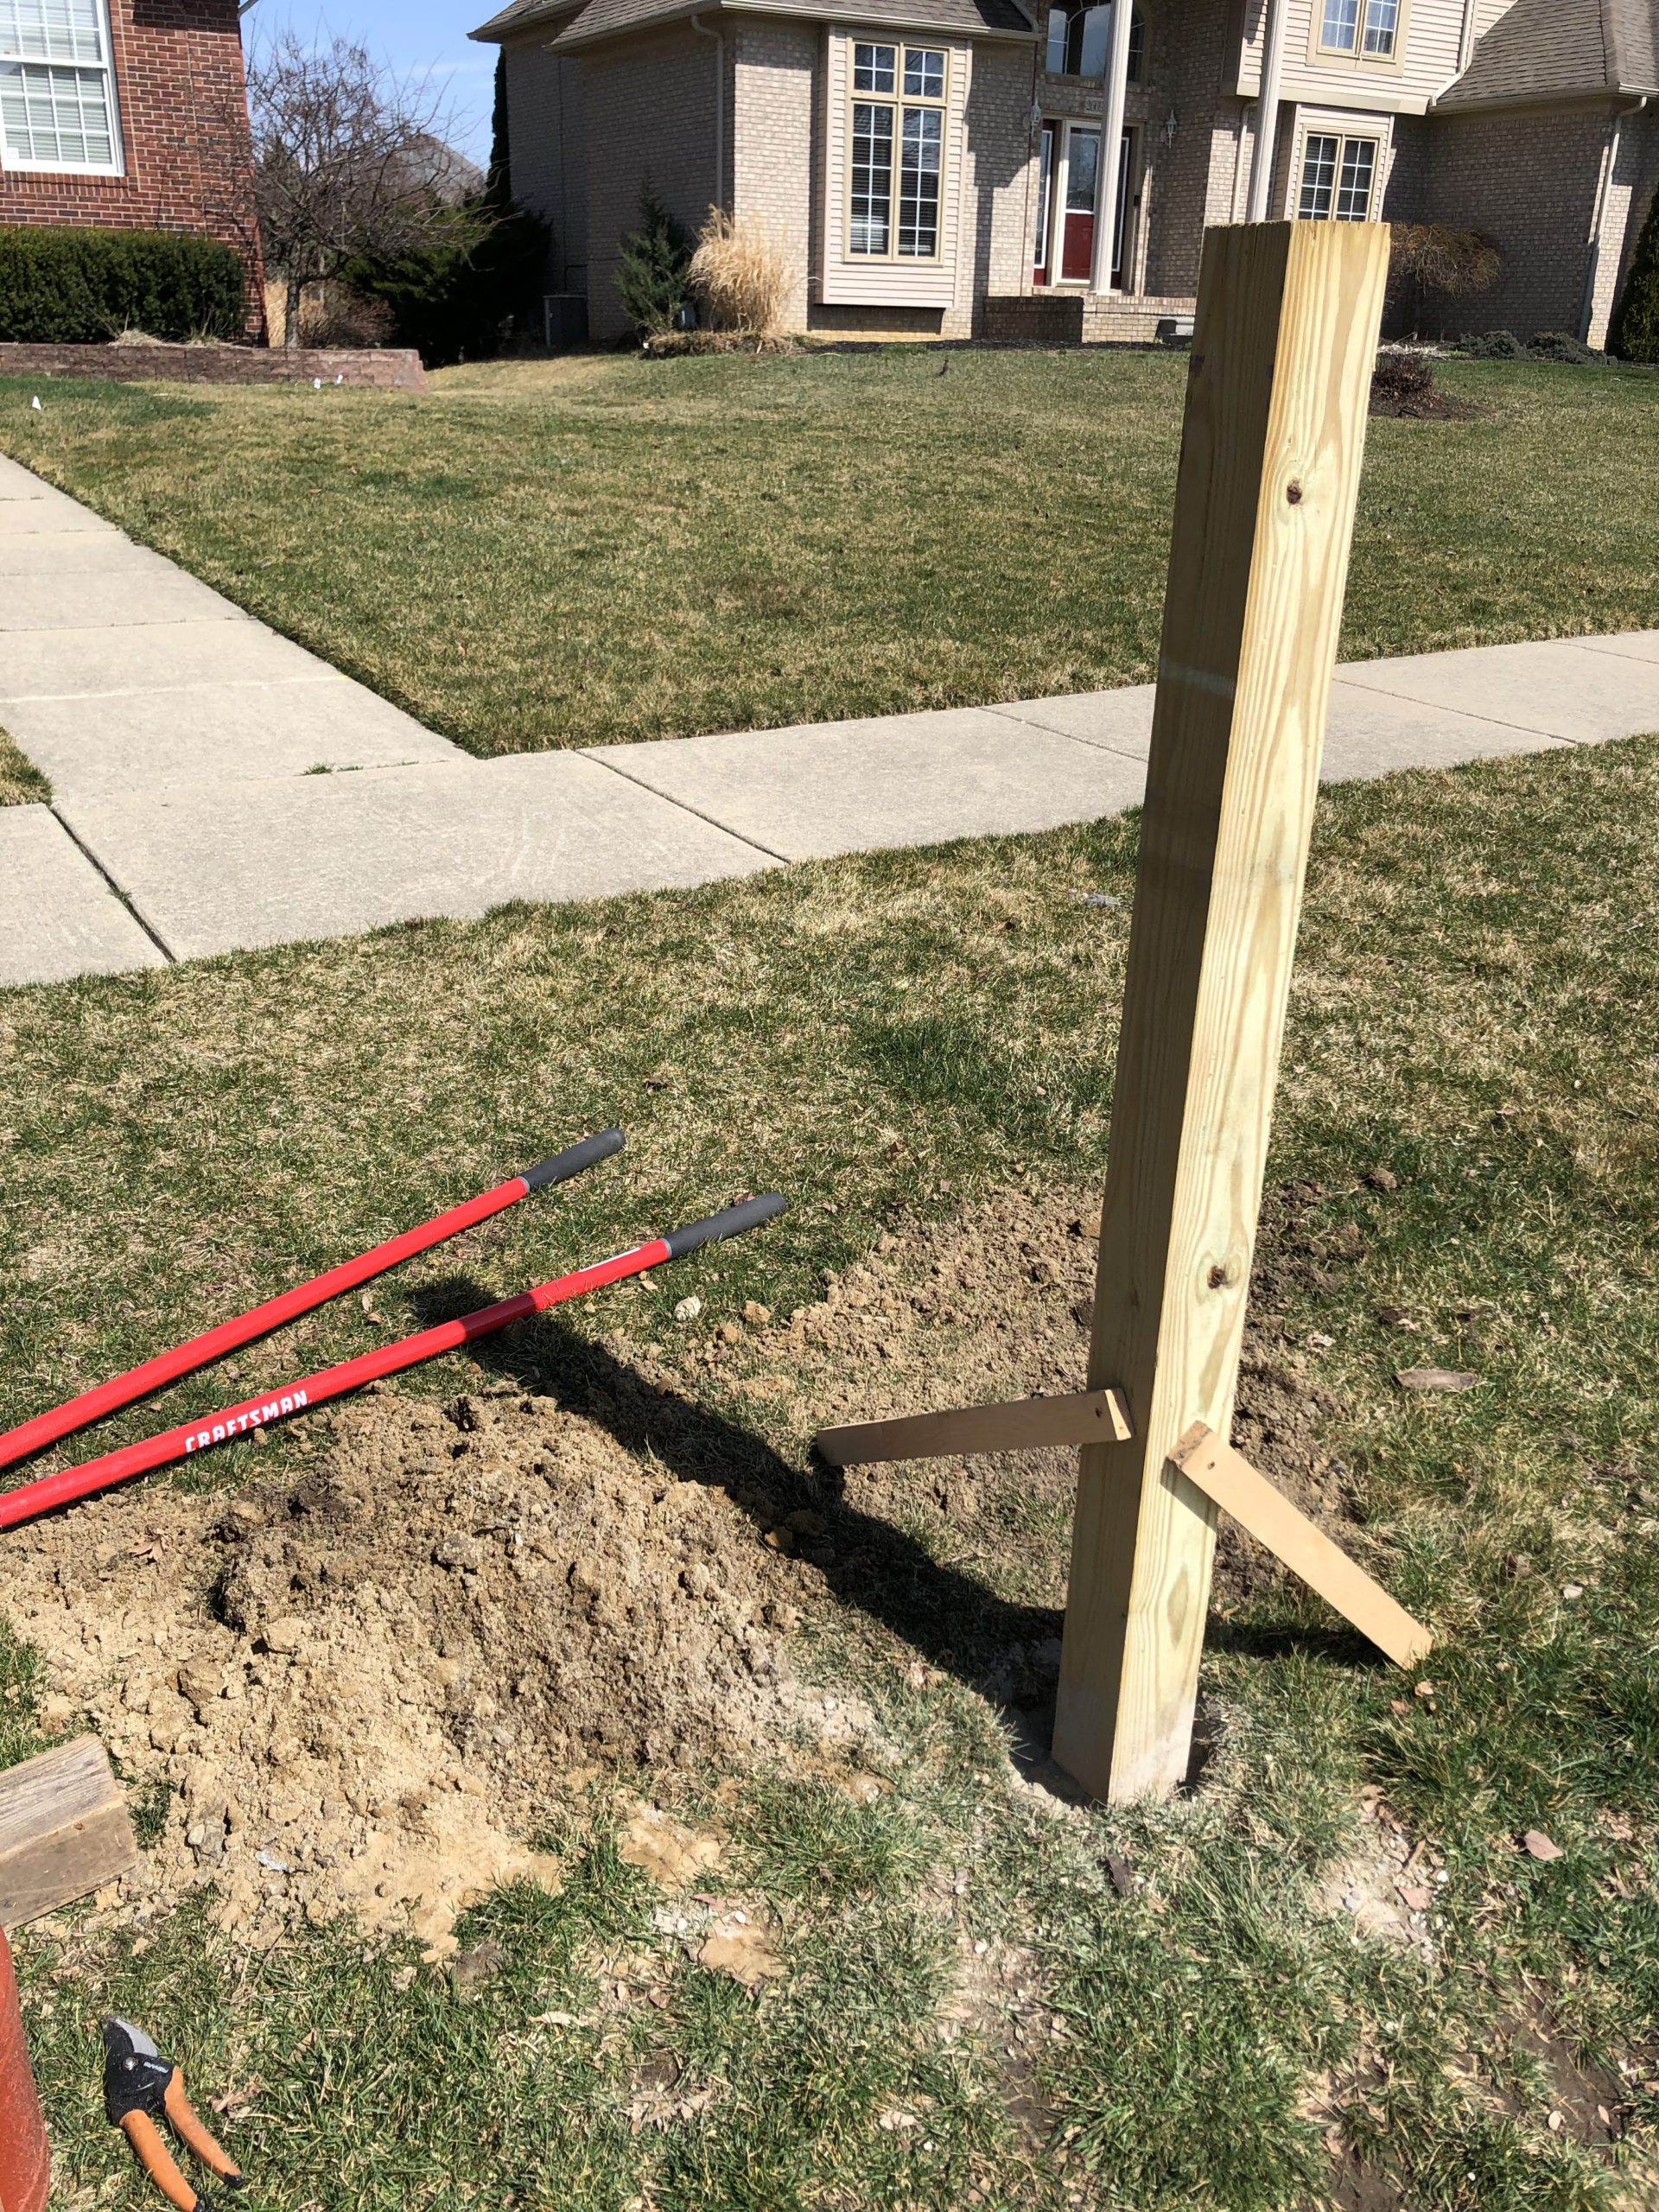

The old 2×2 mailbox post was completely unusable. The wooden post had rotten at the base and actually during the time of taking it down, it broke altogether. The new mailbox I bought needed a 4x4x6 post. Therefore, it was time to buy a new post anyway. I ended up buying a one made of pressure treated lumber from Lowe’s which will withstand the water rot better. Also, there was no need for me to try to reuse the same hole as the hole still had leftover wooden post and concrete. So I decided to create a new hole and utilized the cut sod to fill the old hole.
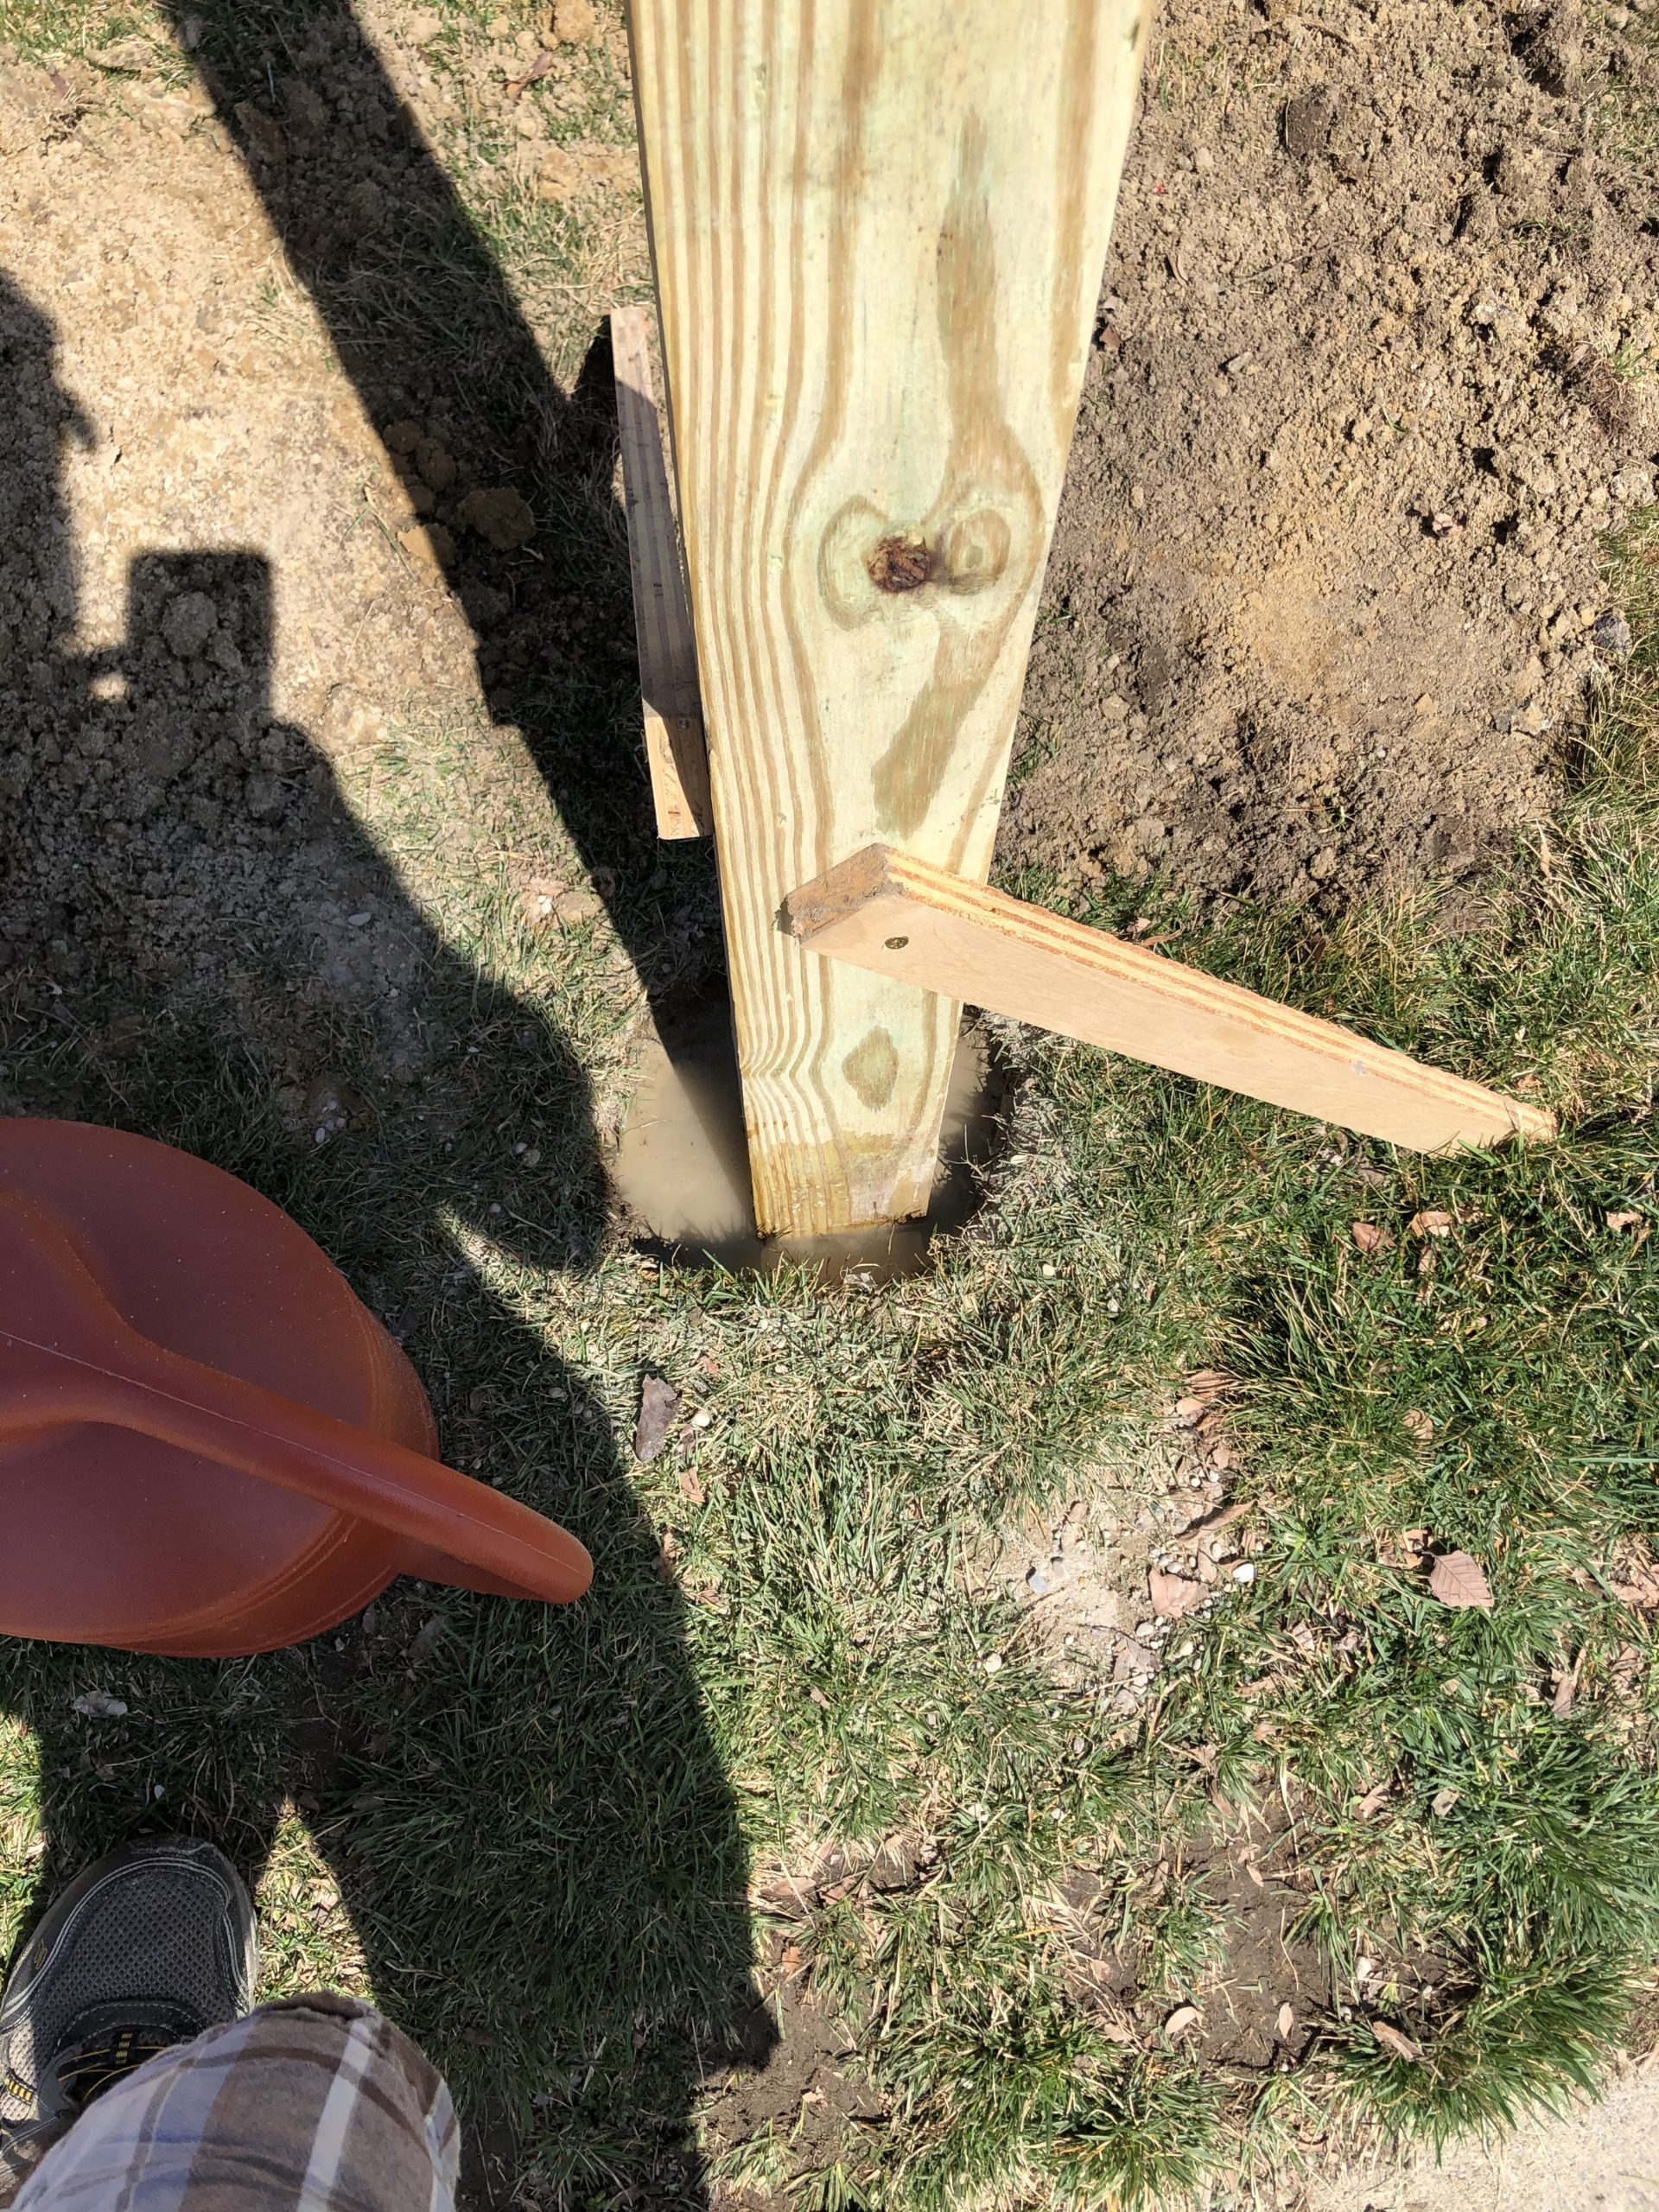
If you’re digging a post hole, you will make your life way easier by buying a wooden post hole digger for about $30-40. I bought one too and it was a bit of learning at the start of my usage but once I got hang of it, everything went smoothly.
The hole depth needed to be 18-24″, mine was about 23″. Now the most important piece while doing this is to ensure the post stays leveled. For this utilize the two wooden stakes the way I show in the photos. The one end of the stake is screwed to the post while the other is free. As you level the post, gently hammer on the free end of the stake so it goes in the ground a little bit thereby holding the post in place. If you’ve a friend for help, use them because this is an important step. After it is leveled, secured and standing with supporting stakes, fill the hole with concrete mix. I advise using Quickrete Fast Setting. I used one bag of 50lb. Just pour the raw concrete in using a trowel. Leave about 3-4in gap at the top from the ground. Then pour about 1 gallon of water. Don’t worry if it creates a puddle. Pour some, then wait for it to be soaked and then pour more. Then I left the concrete to harden for about 2 hours before installing the mailbox.
After
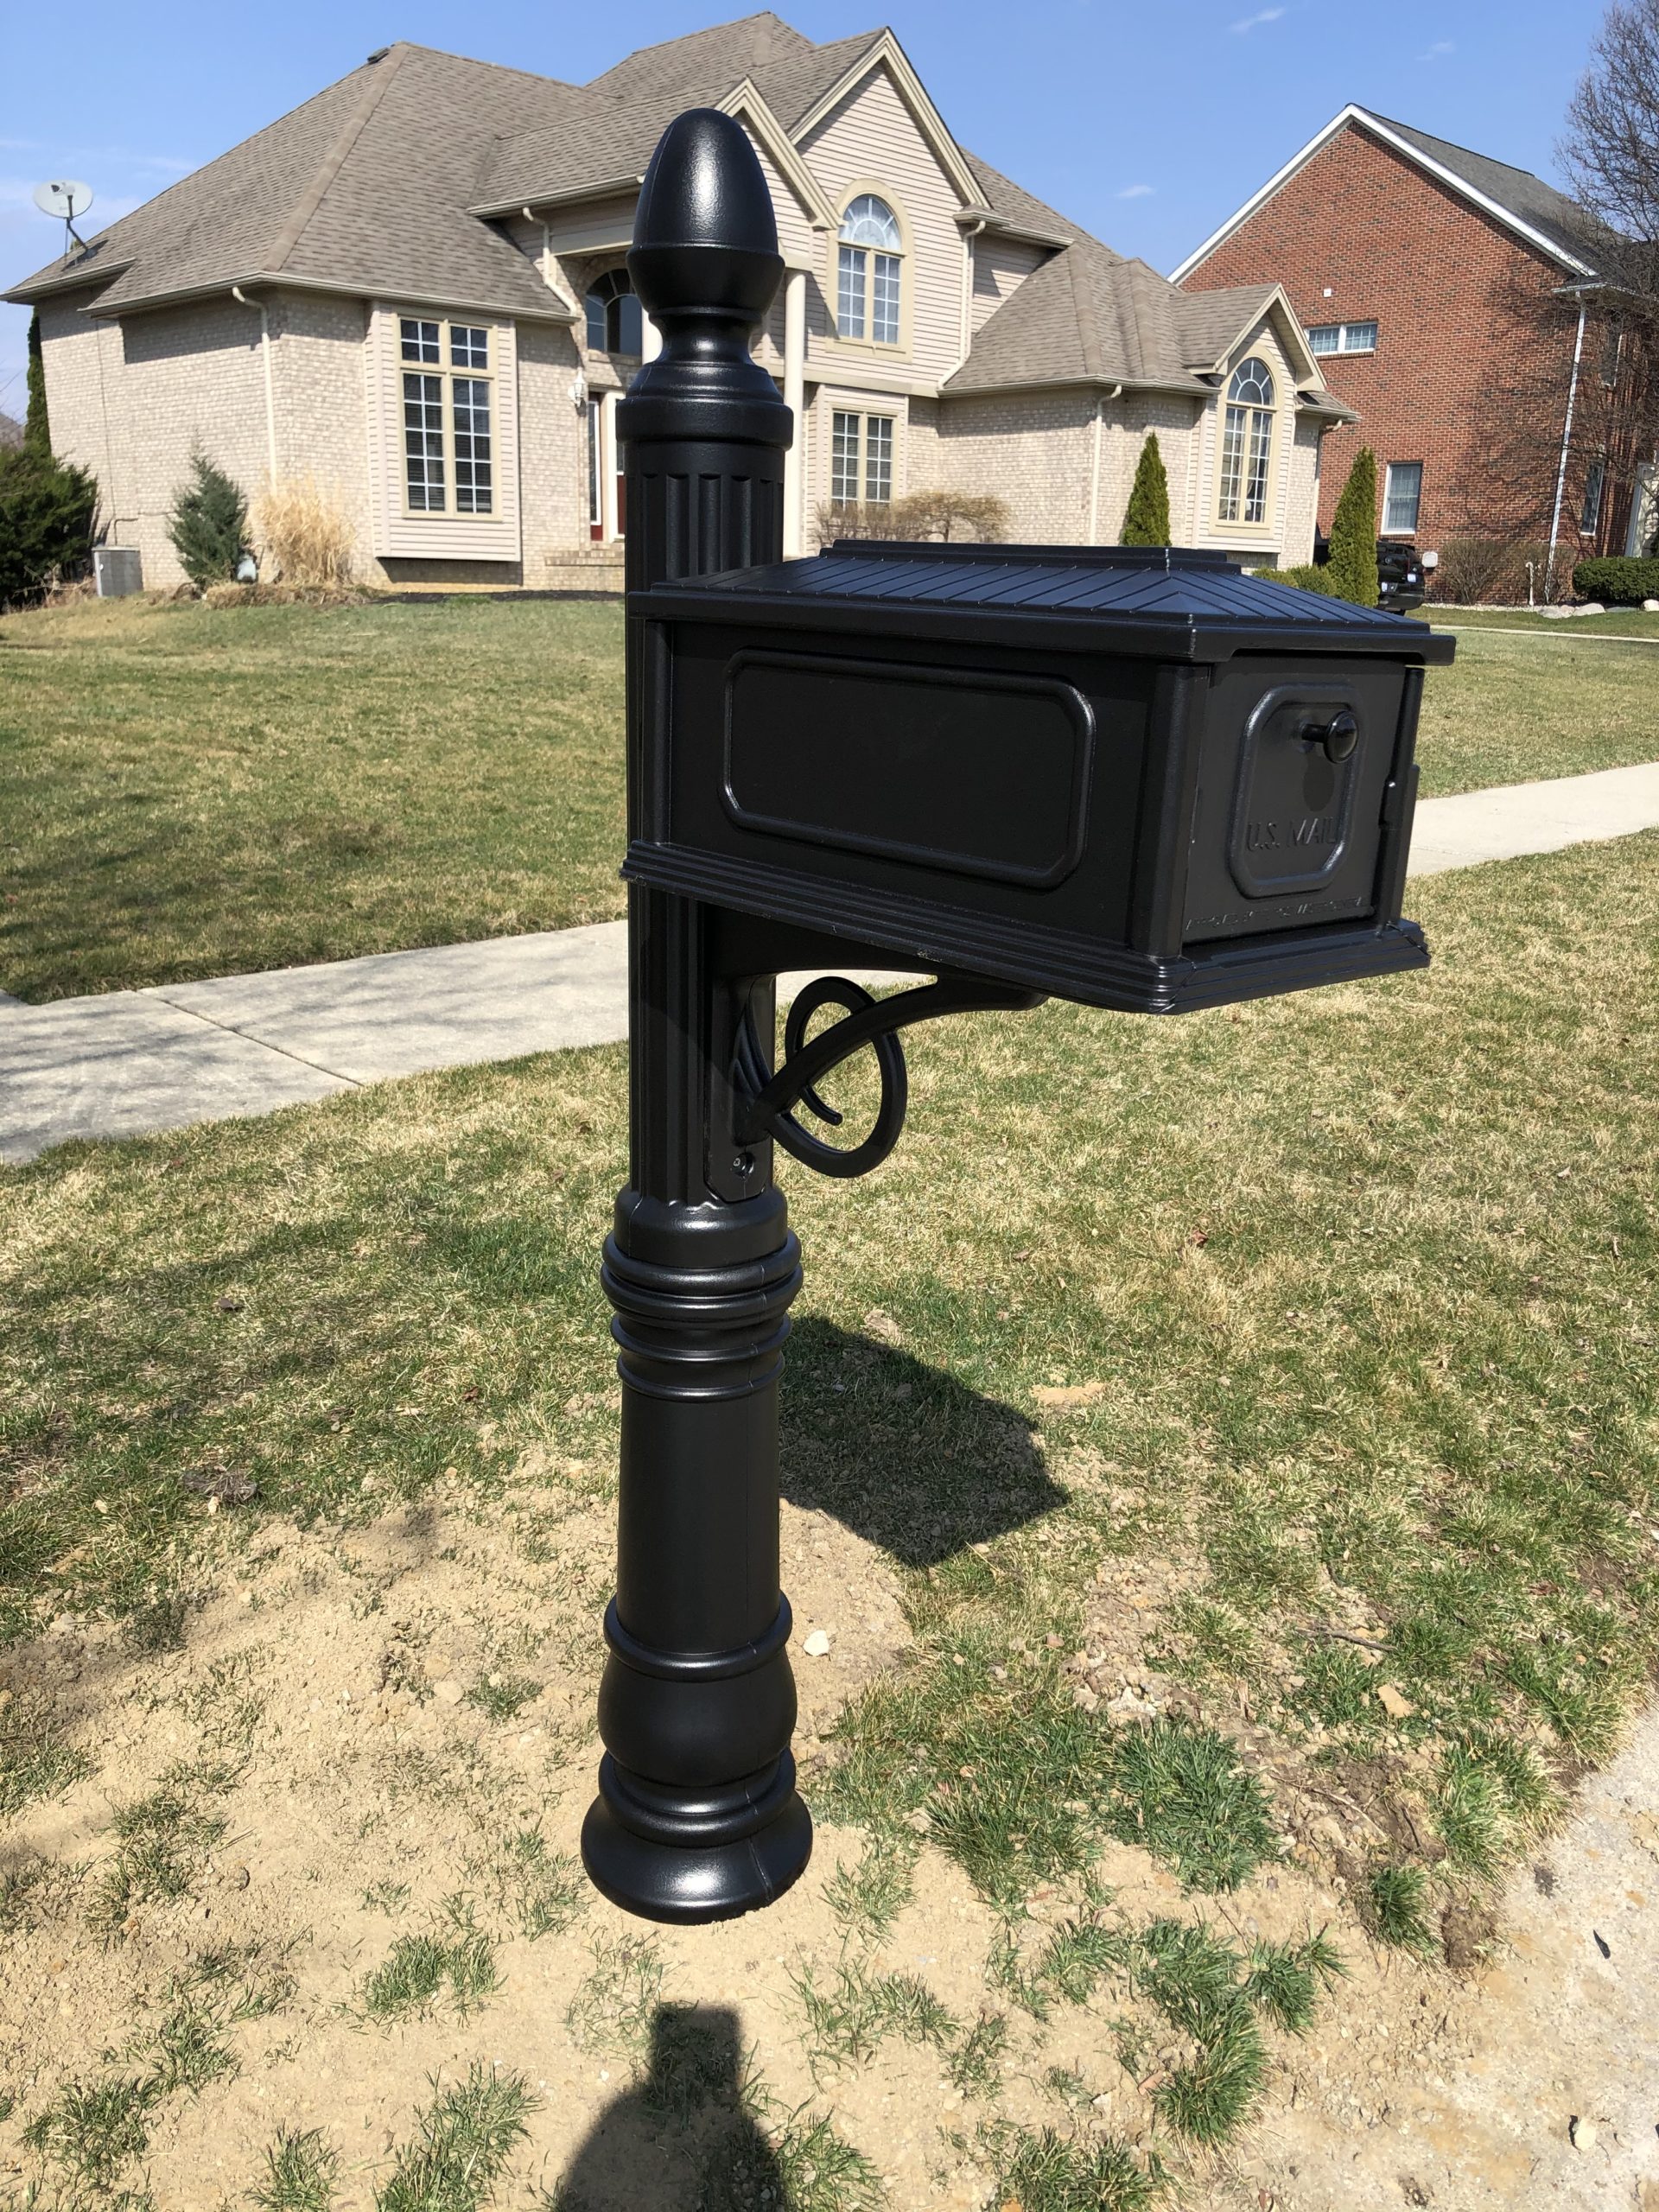
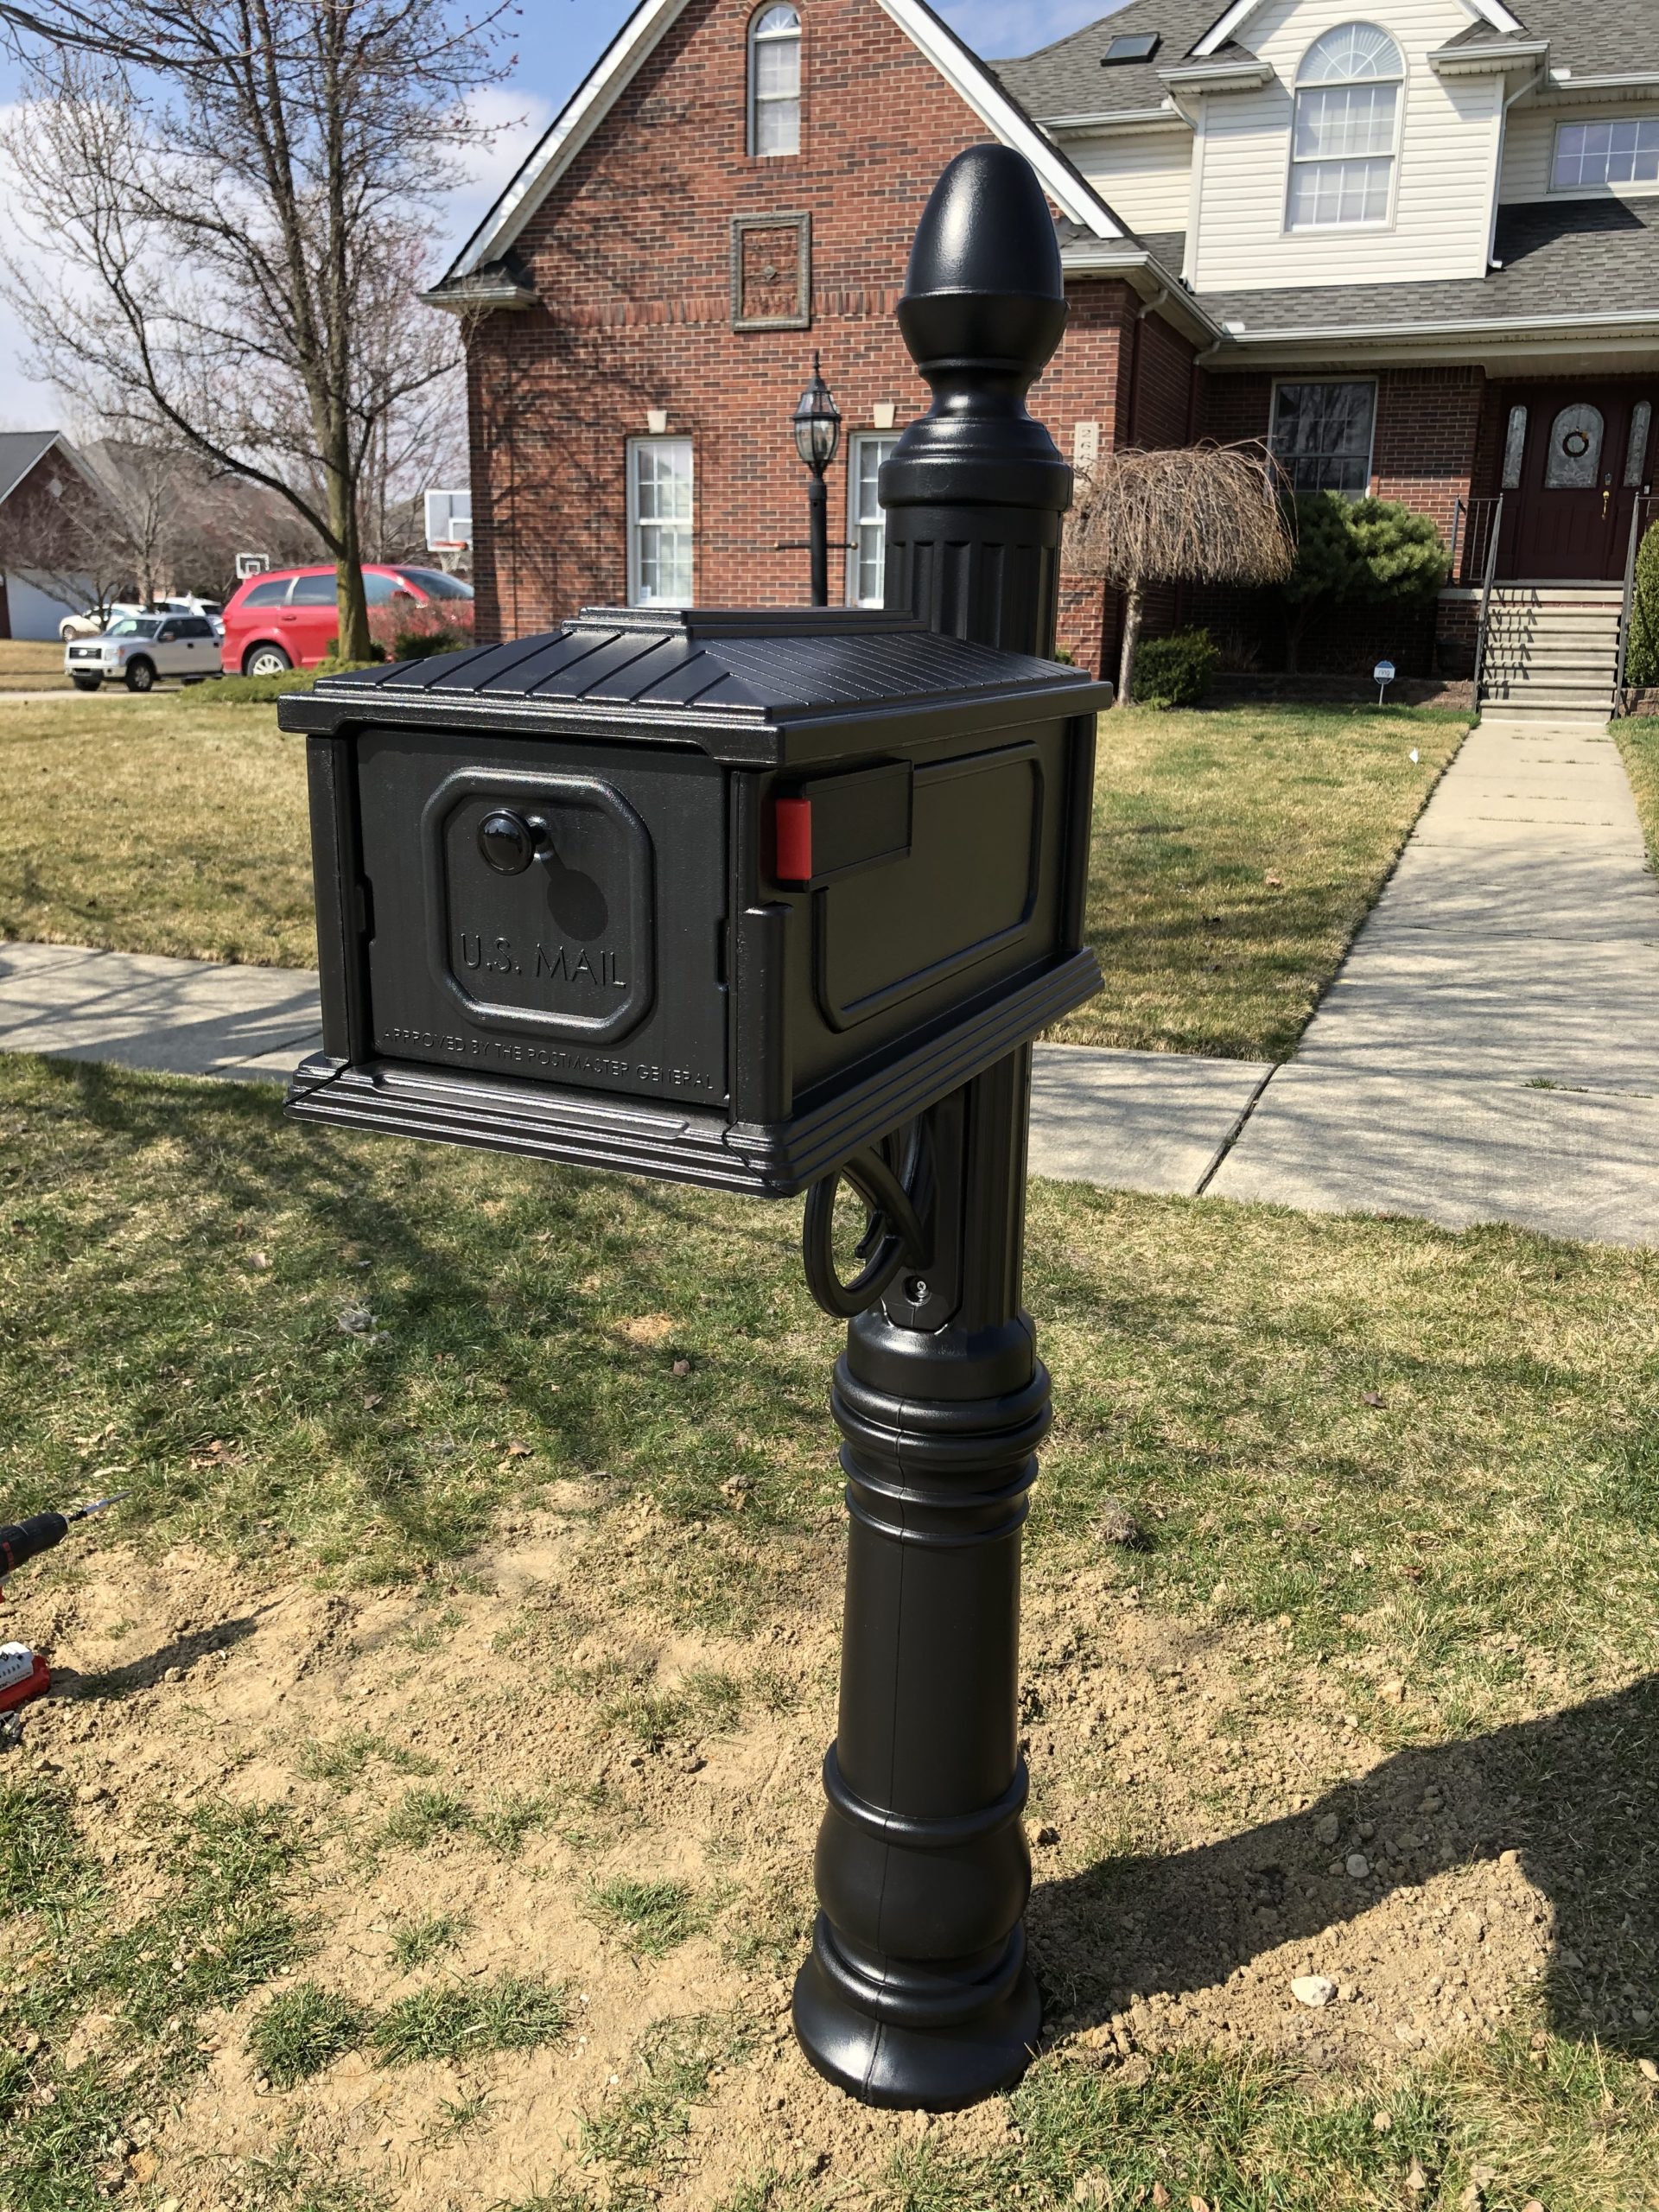
The new Mailbox fit over the new 4×4 post perfectly. It looks beautiful! The model is Gibraltar Stratford. It has a metal look but is actually made of thick plastic. It was about $150 in price.