Old house and extremely limited shelving in Closets, sounds familiar right? Well, I decided to take care of storage by installing shiny new wire shelving in all the 3 closets we have in the house.
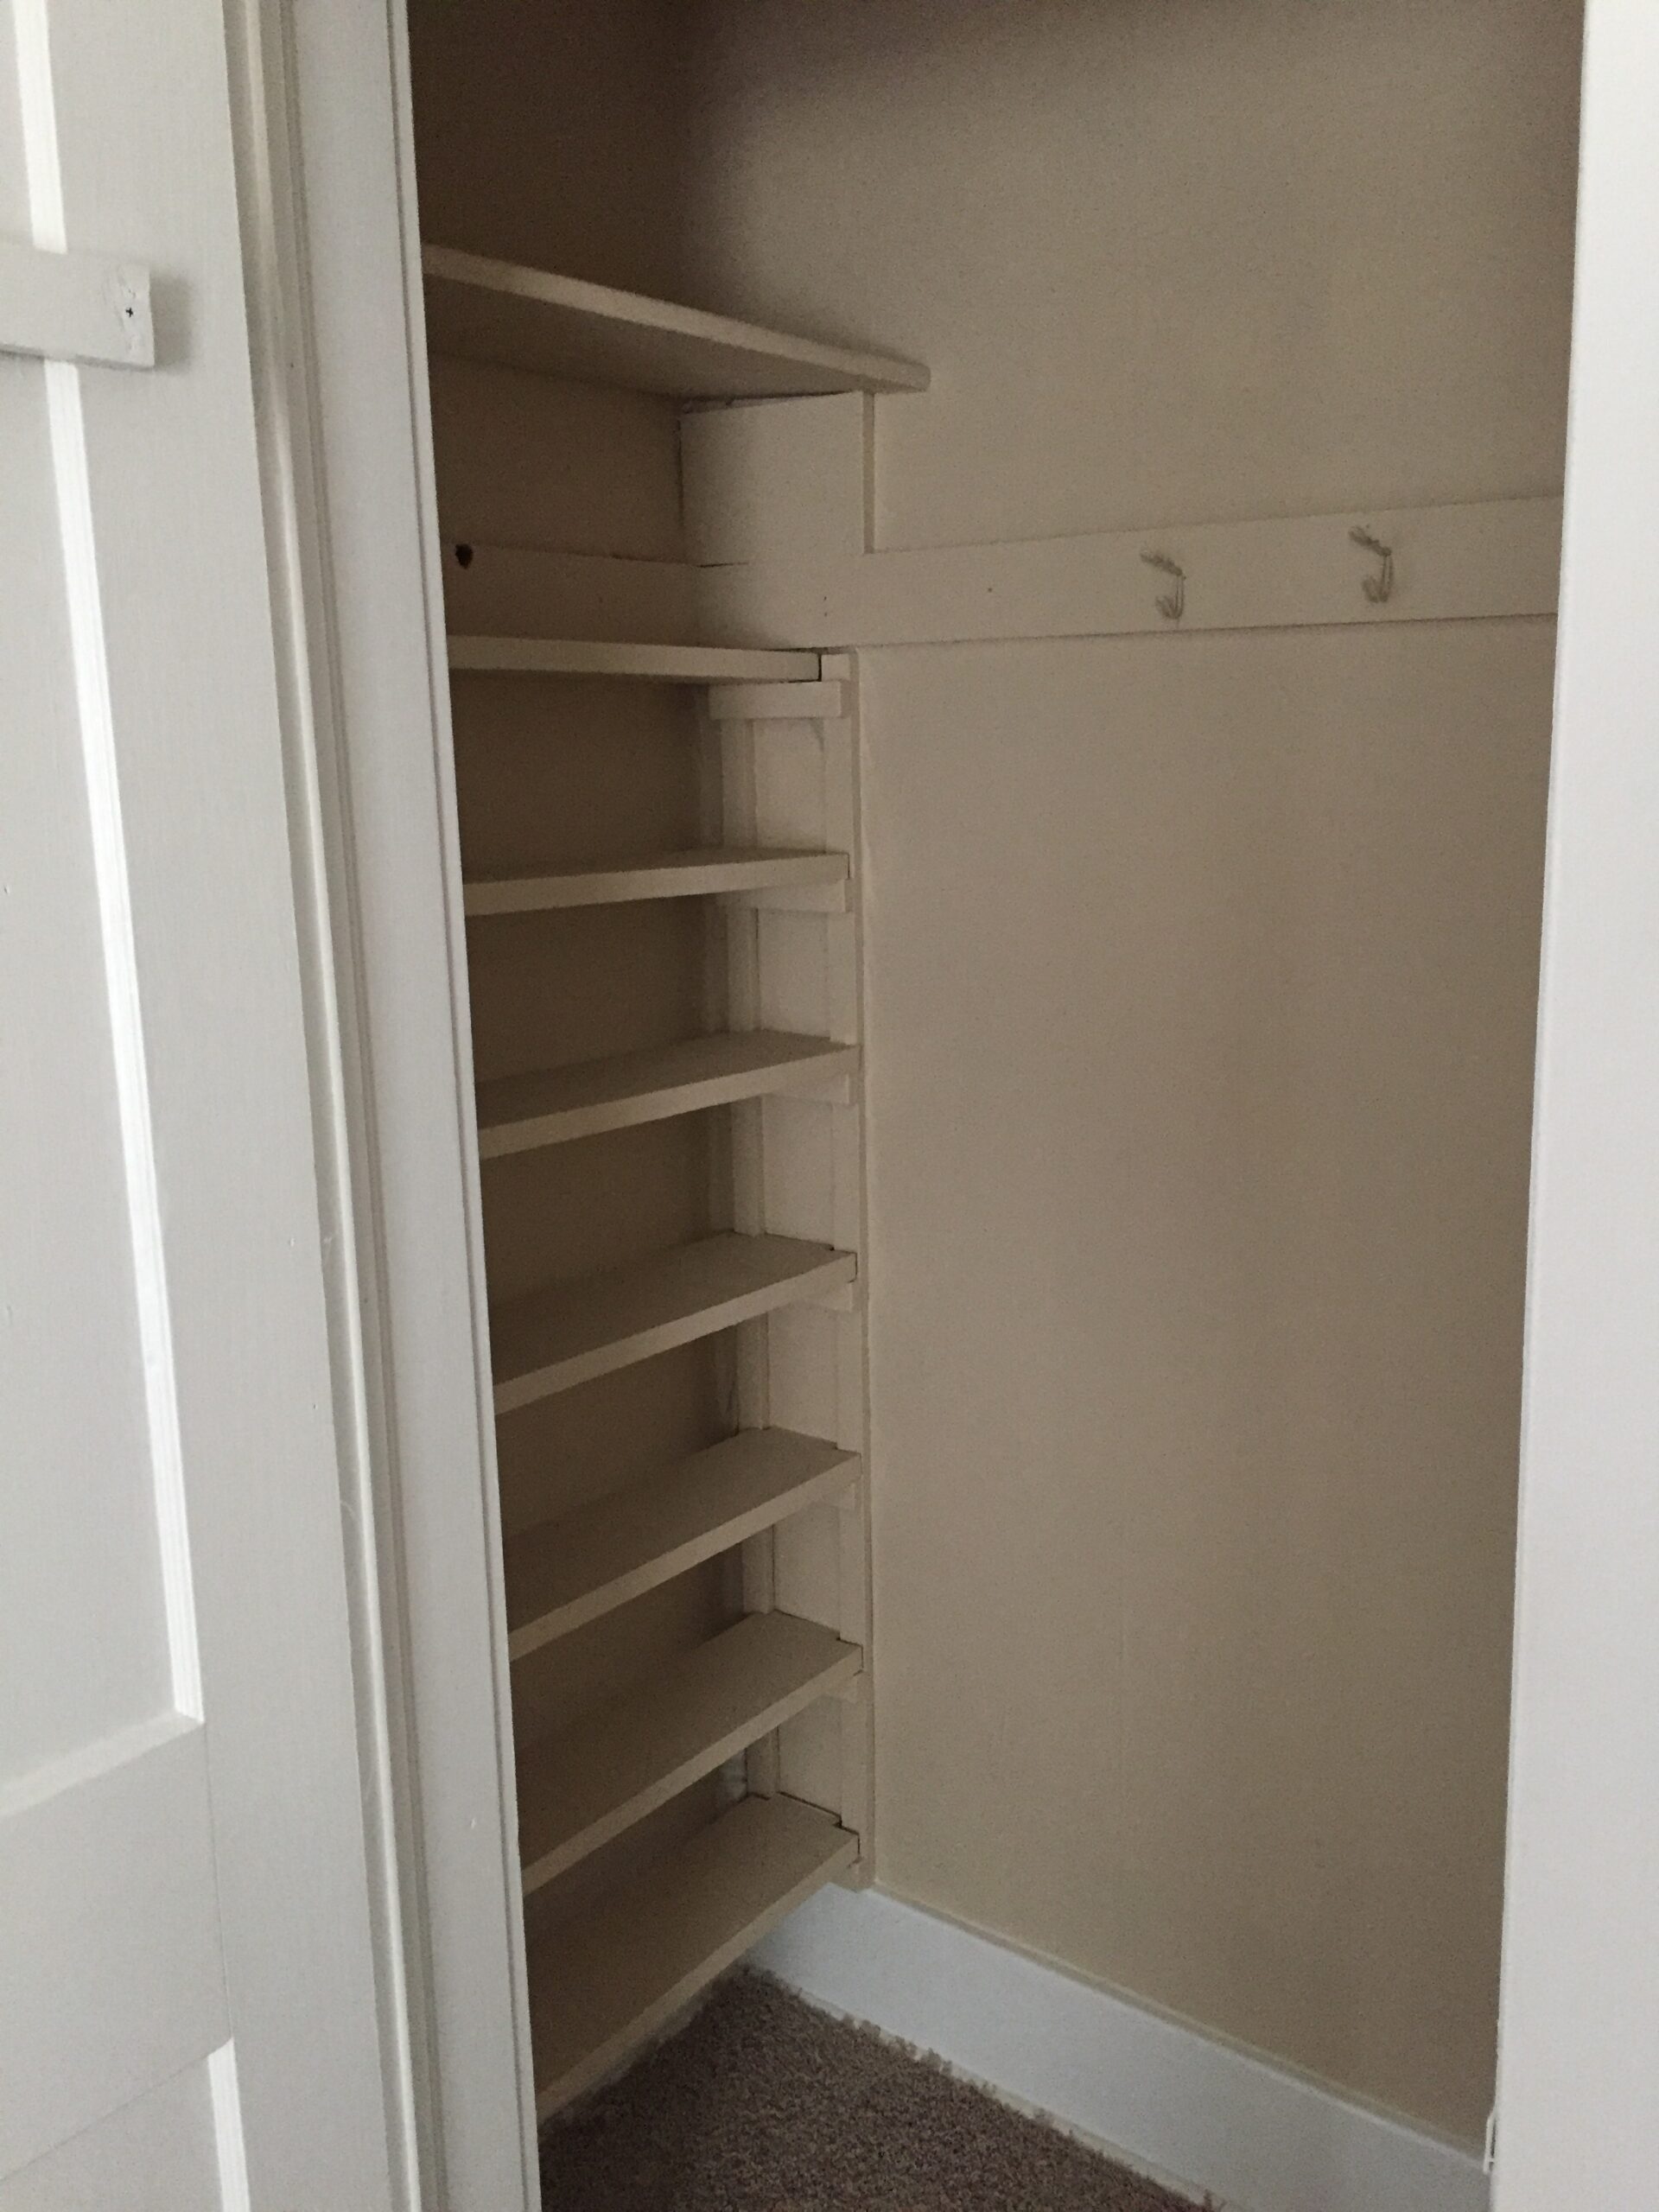
Here are some photos of the Master Bedroom closet. I know what you are thinking, it’s so tiny! Yes Sir or Madam, this is an Old house. Back then they did not have large walk-in closets.
So before image:
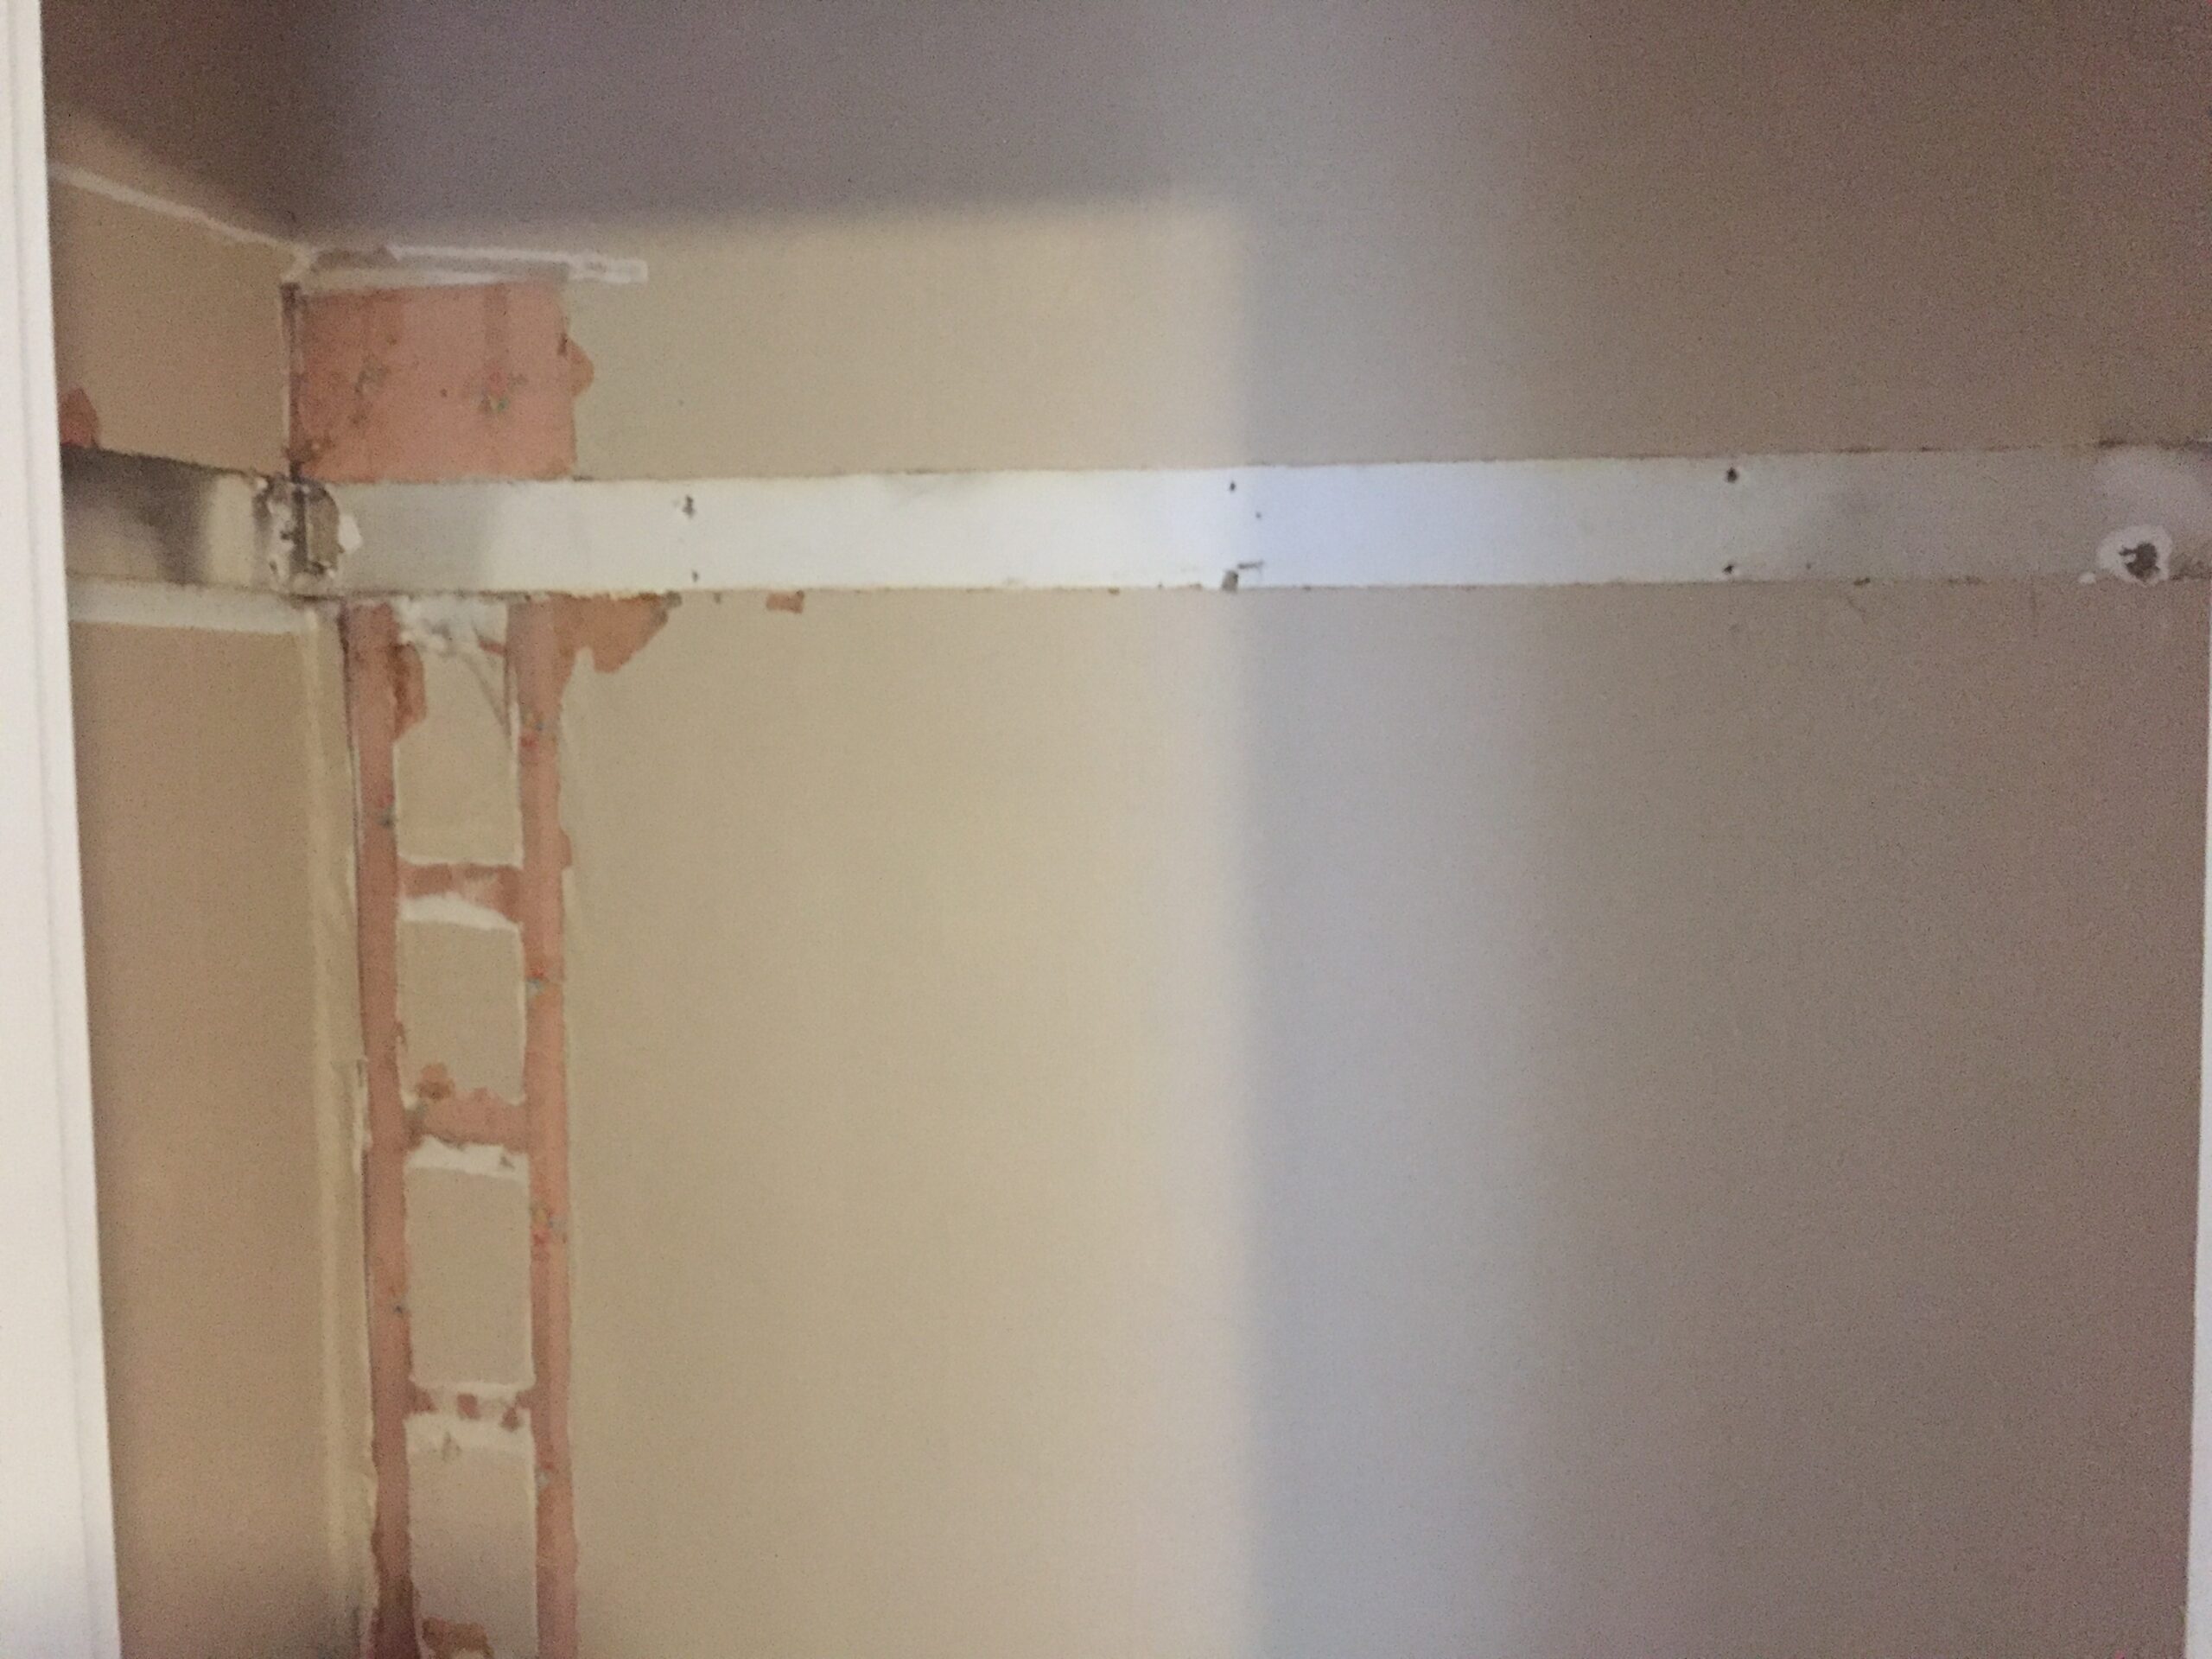
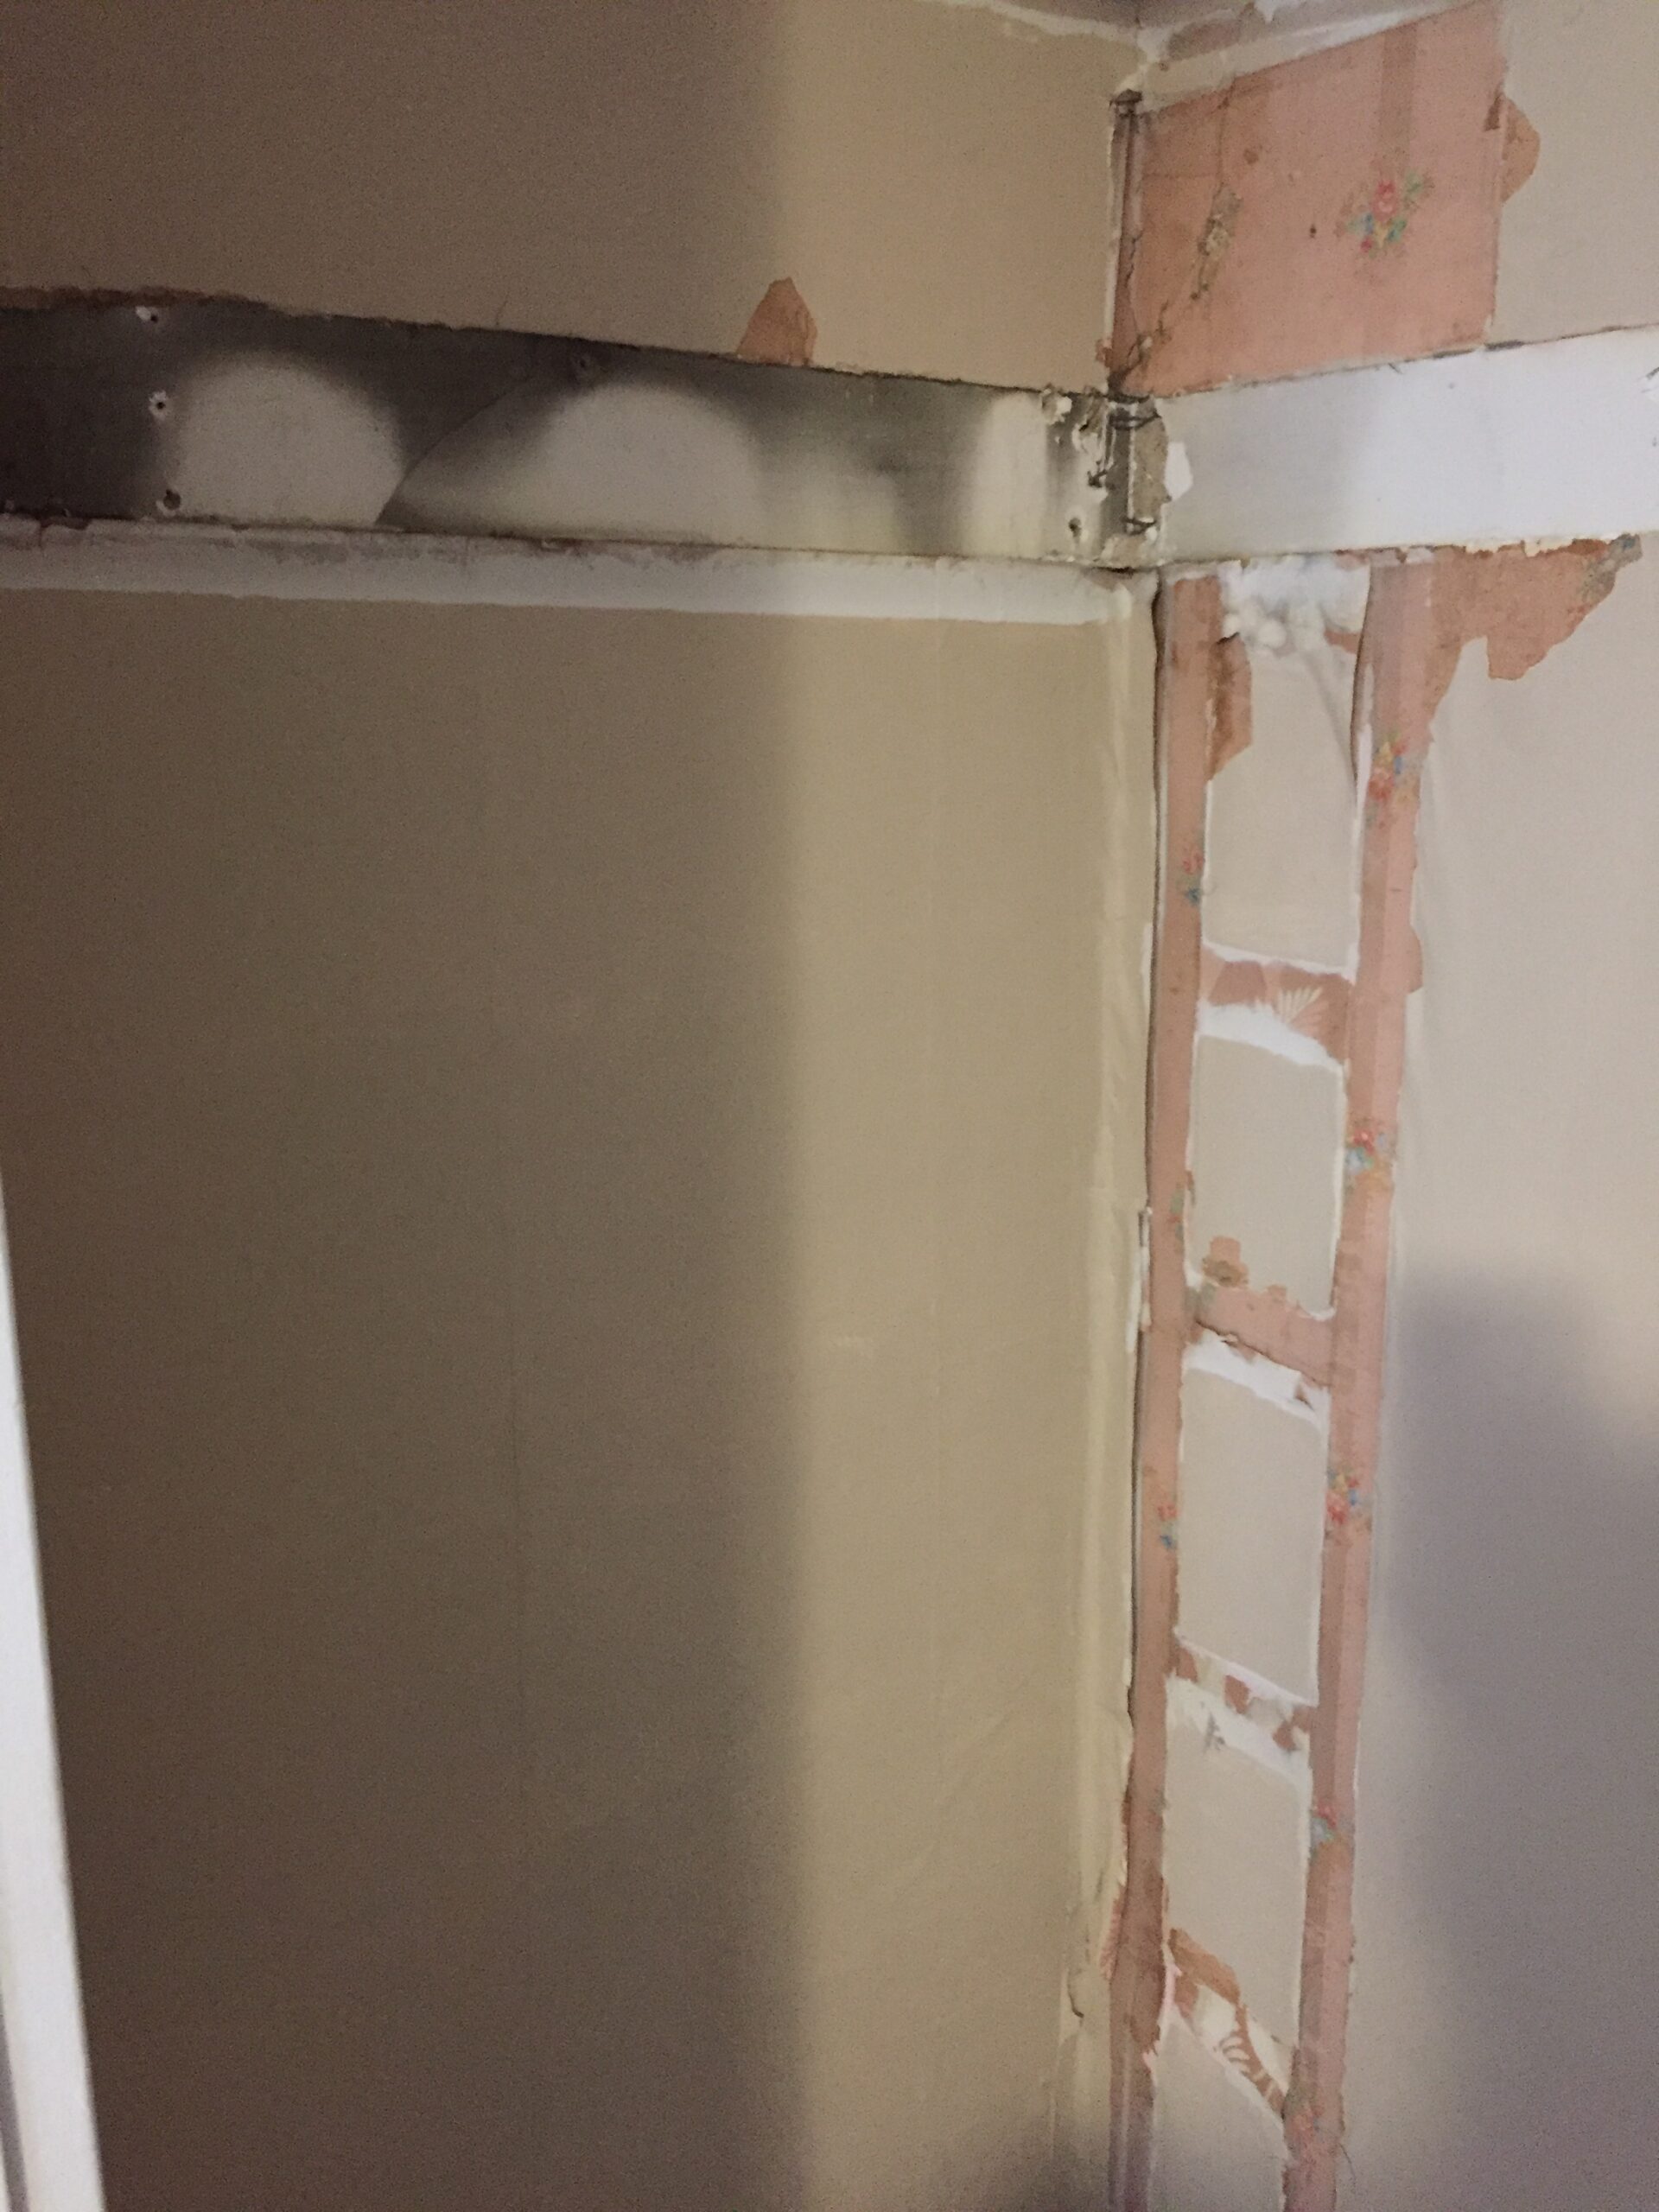
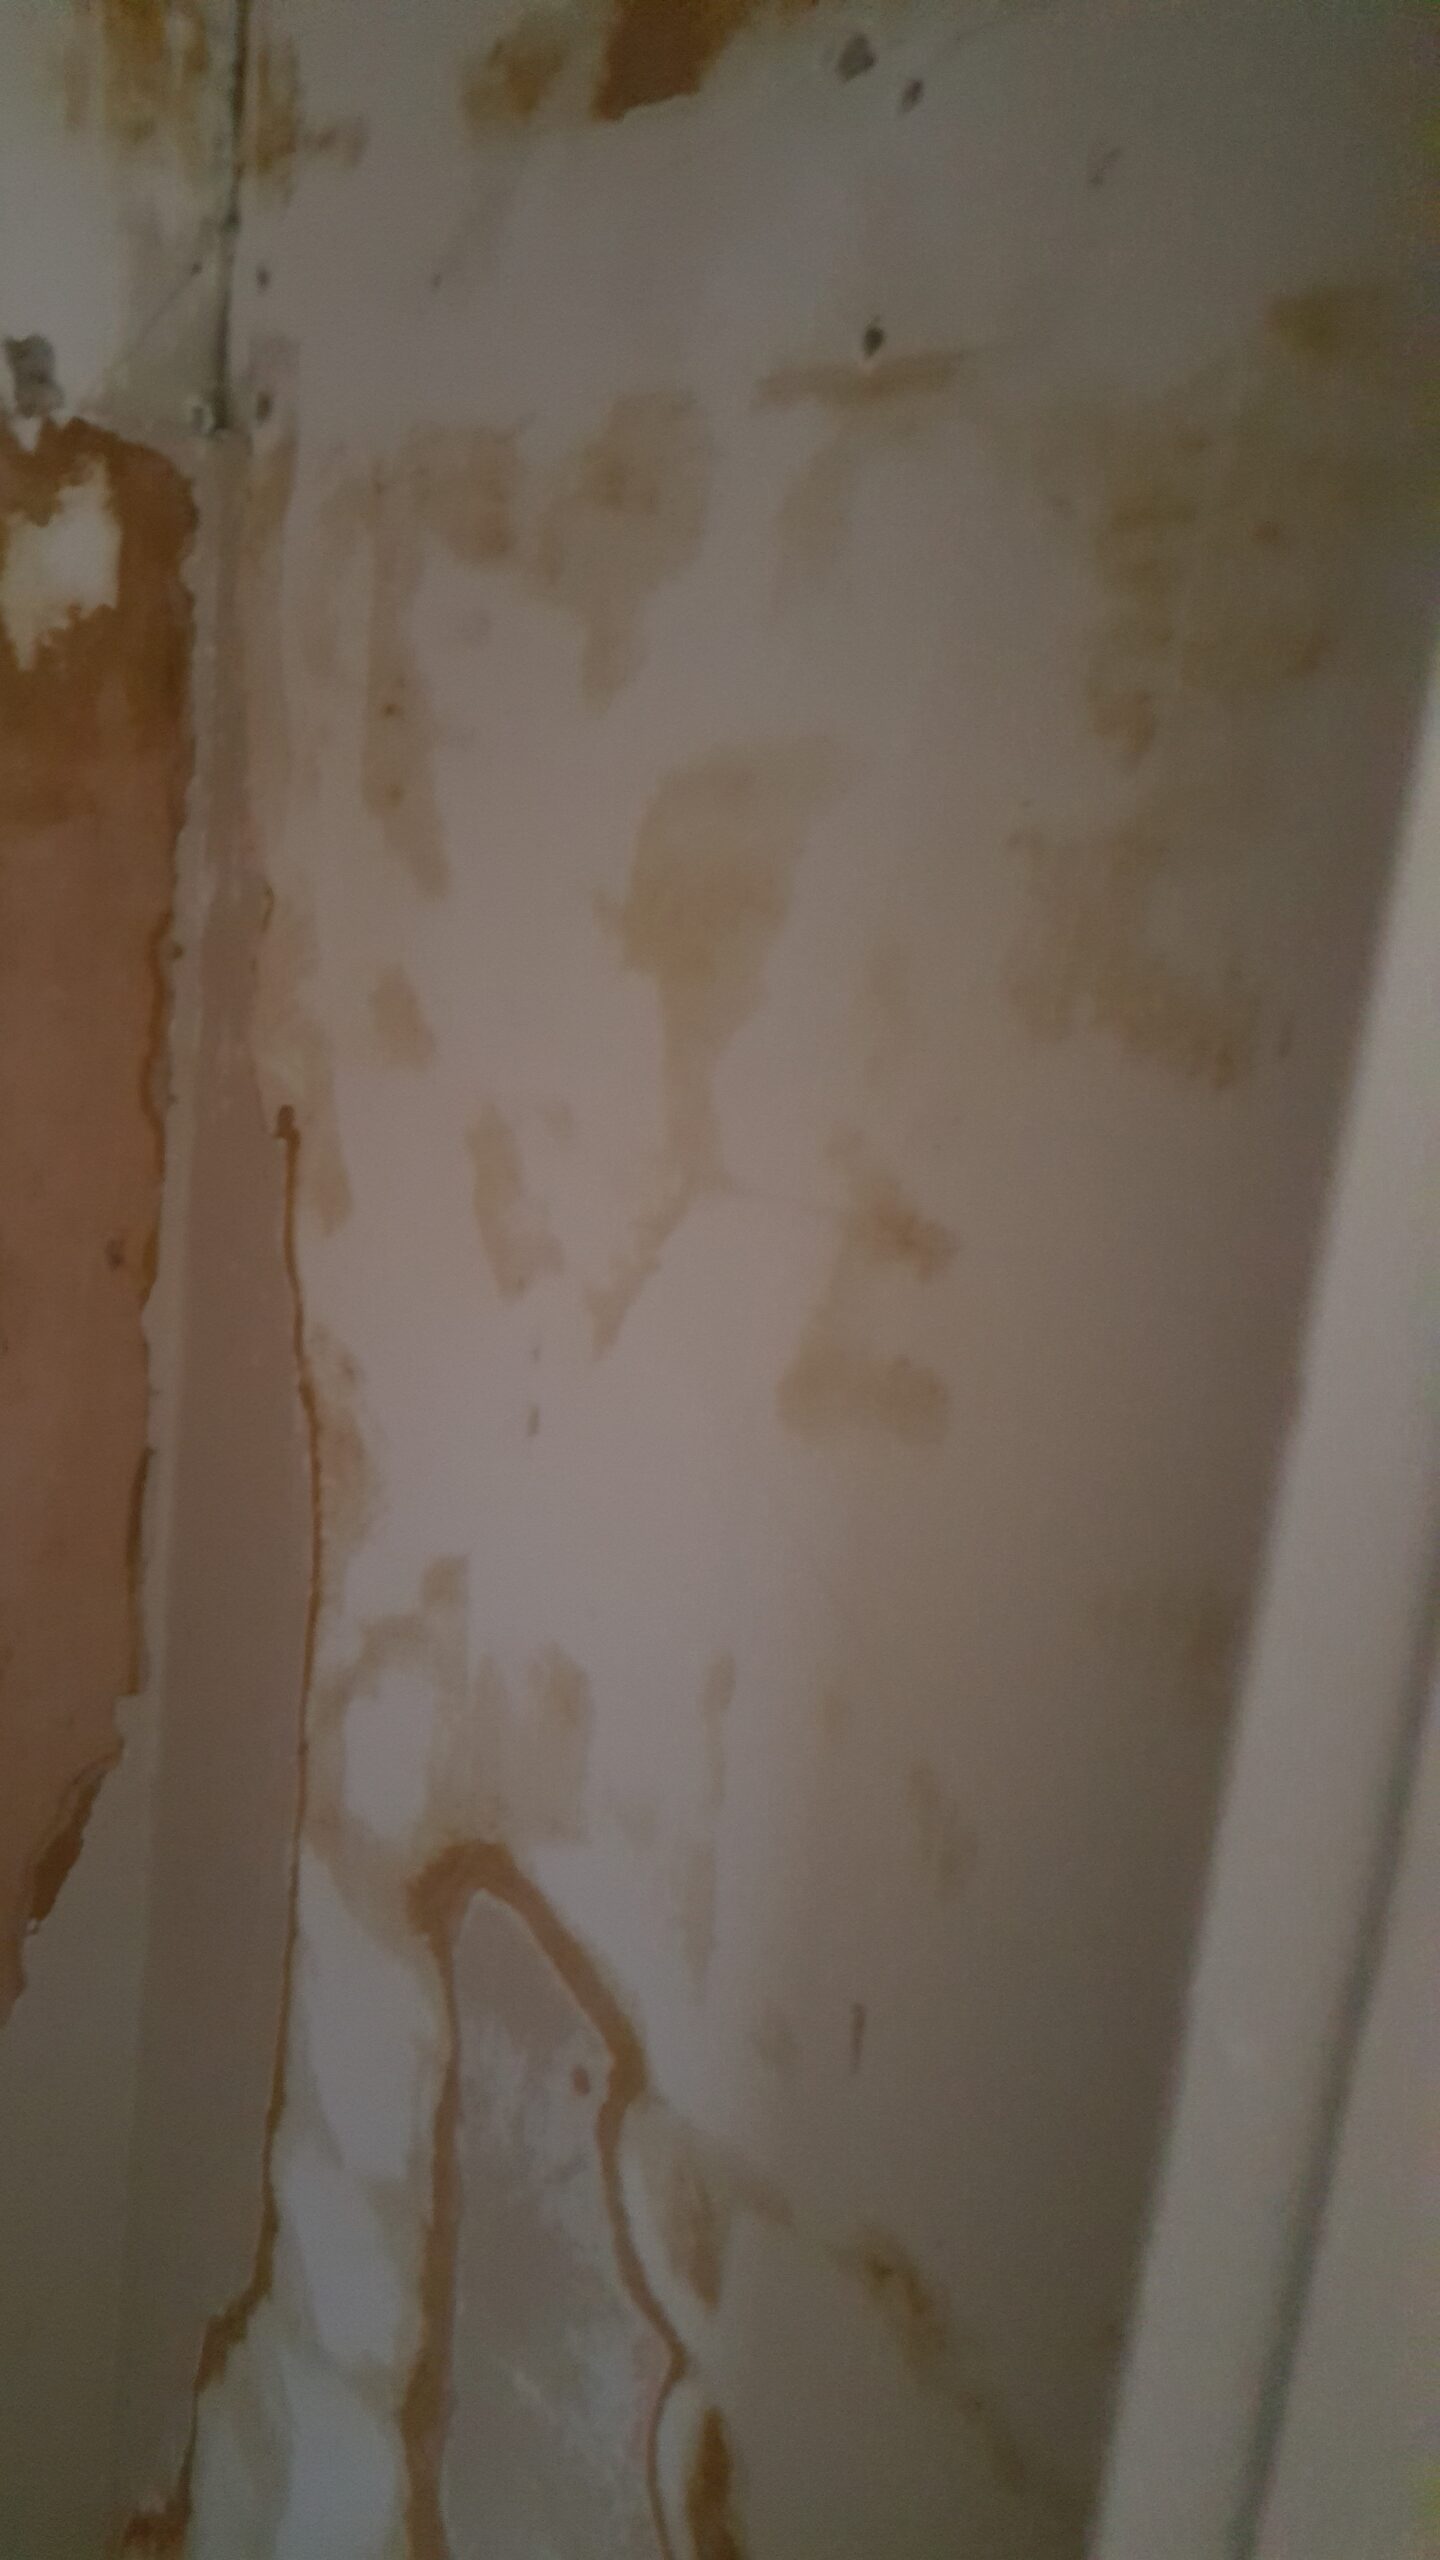
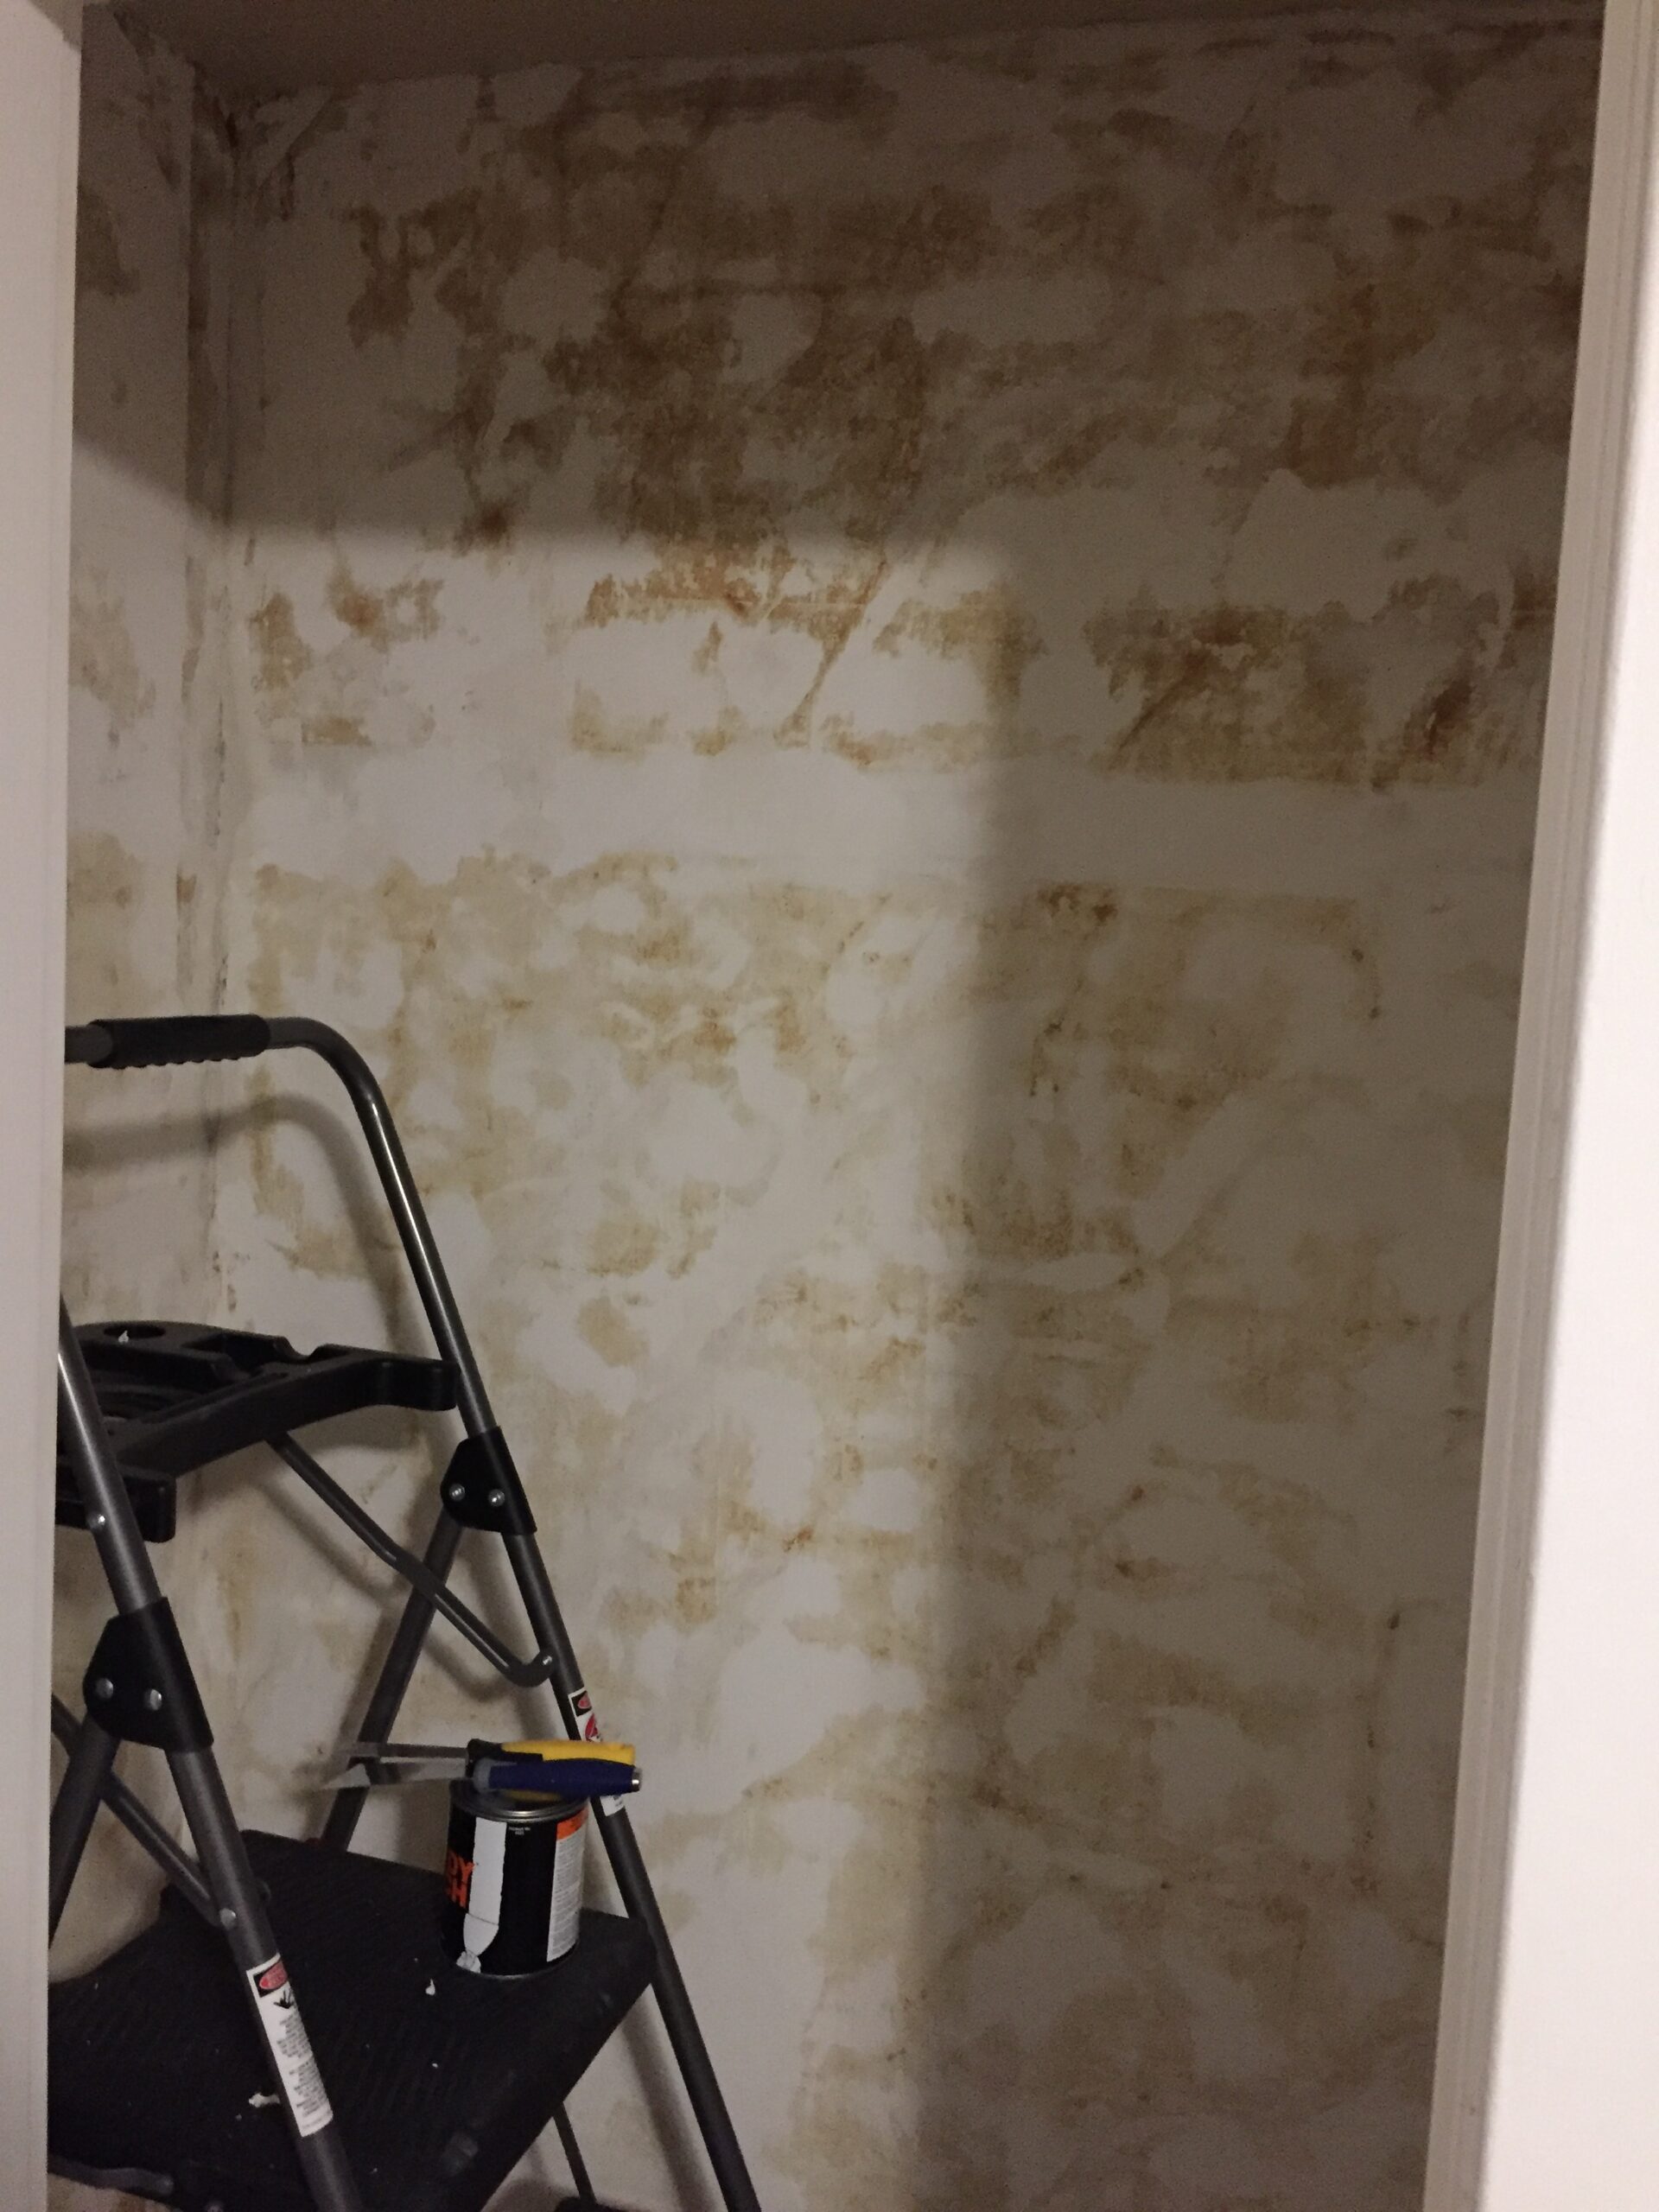
Step 1: remove the wood shelving. And then you are left with hideous wallpaper showing in many areas. Bad luck, because now you have to scrape the entire paint and wallpaper…
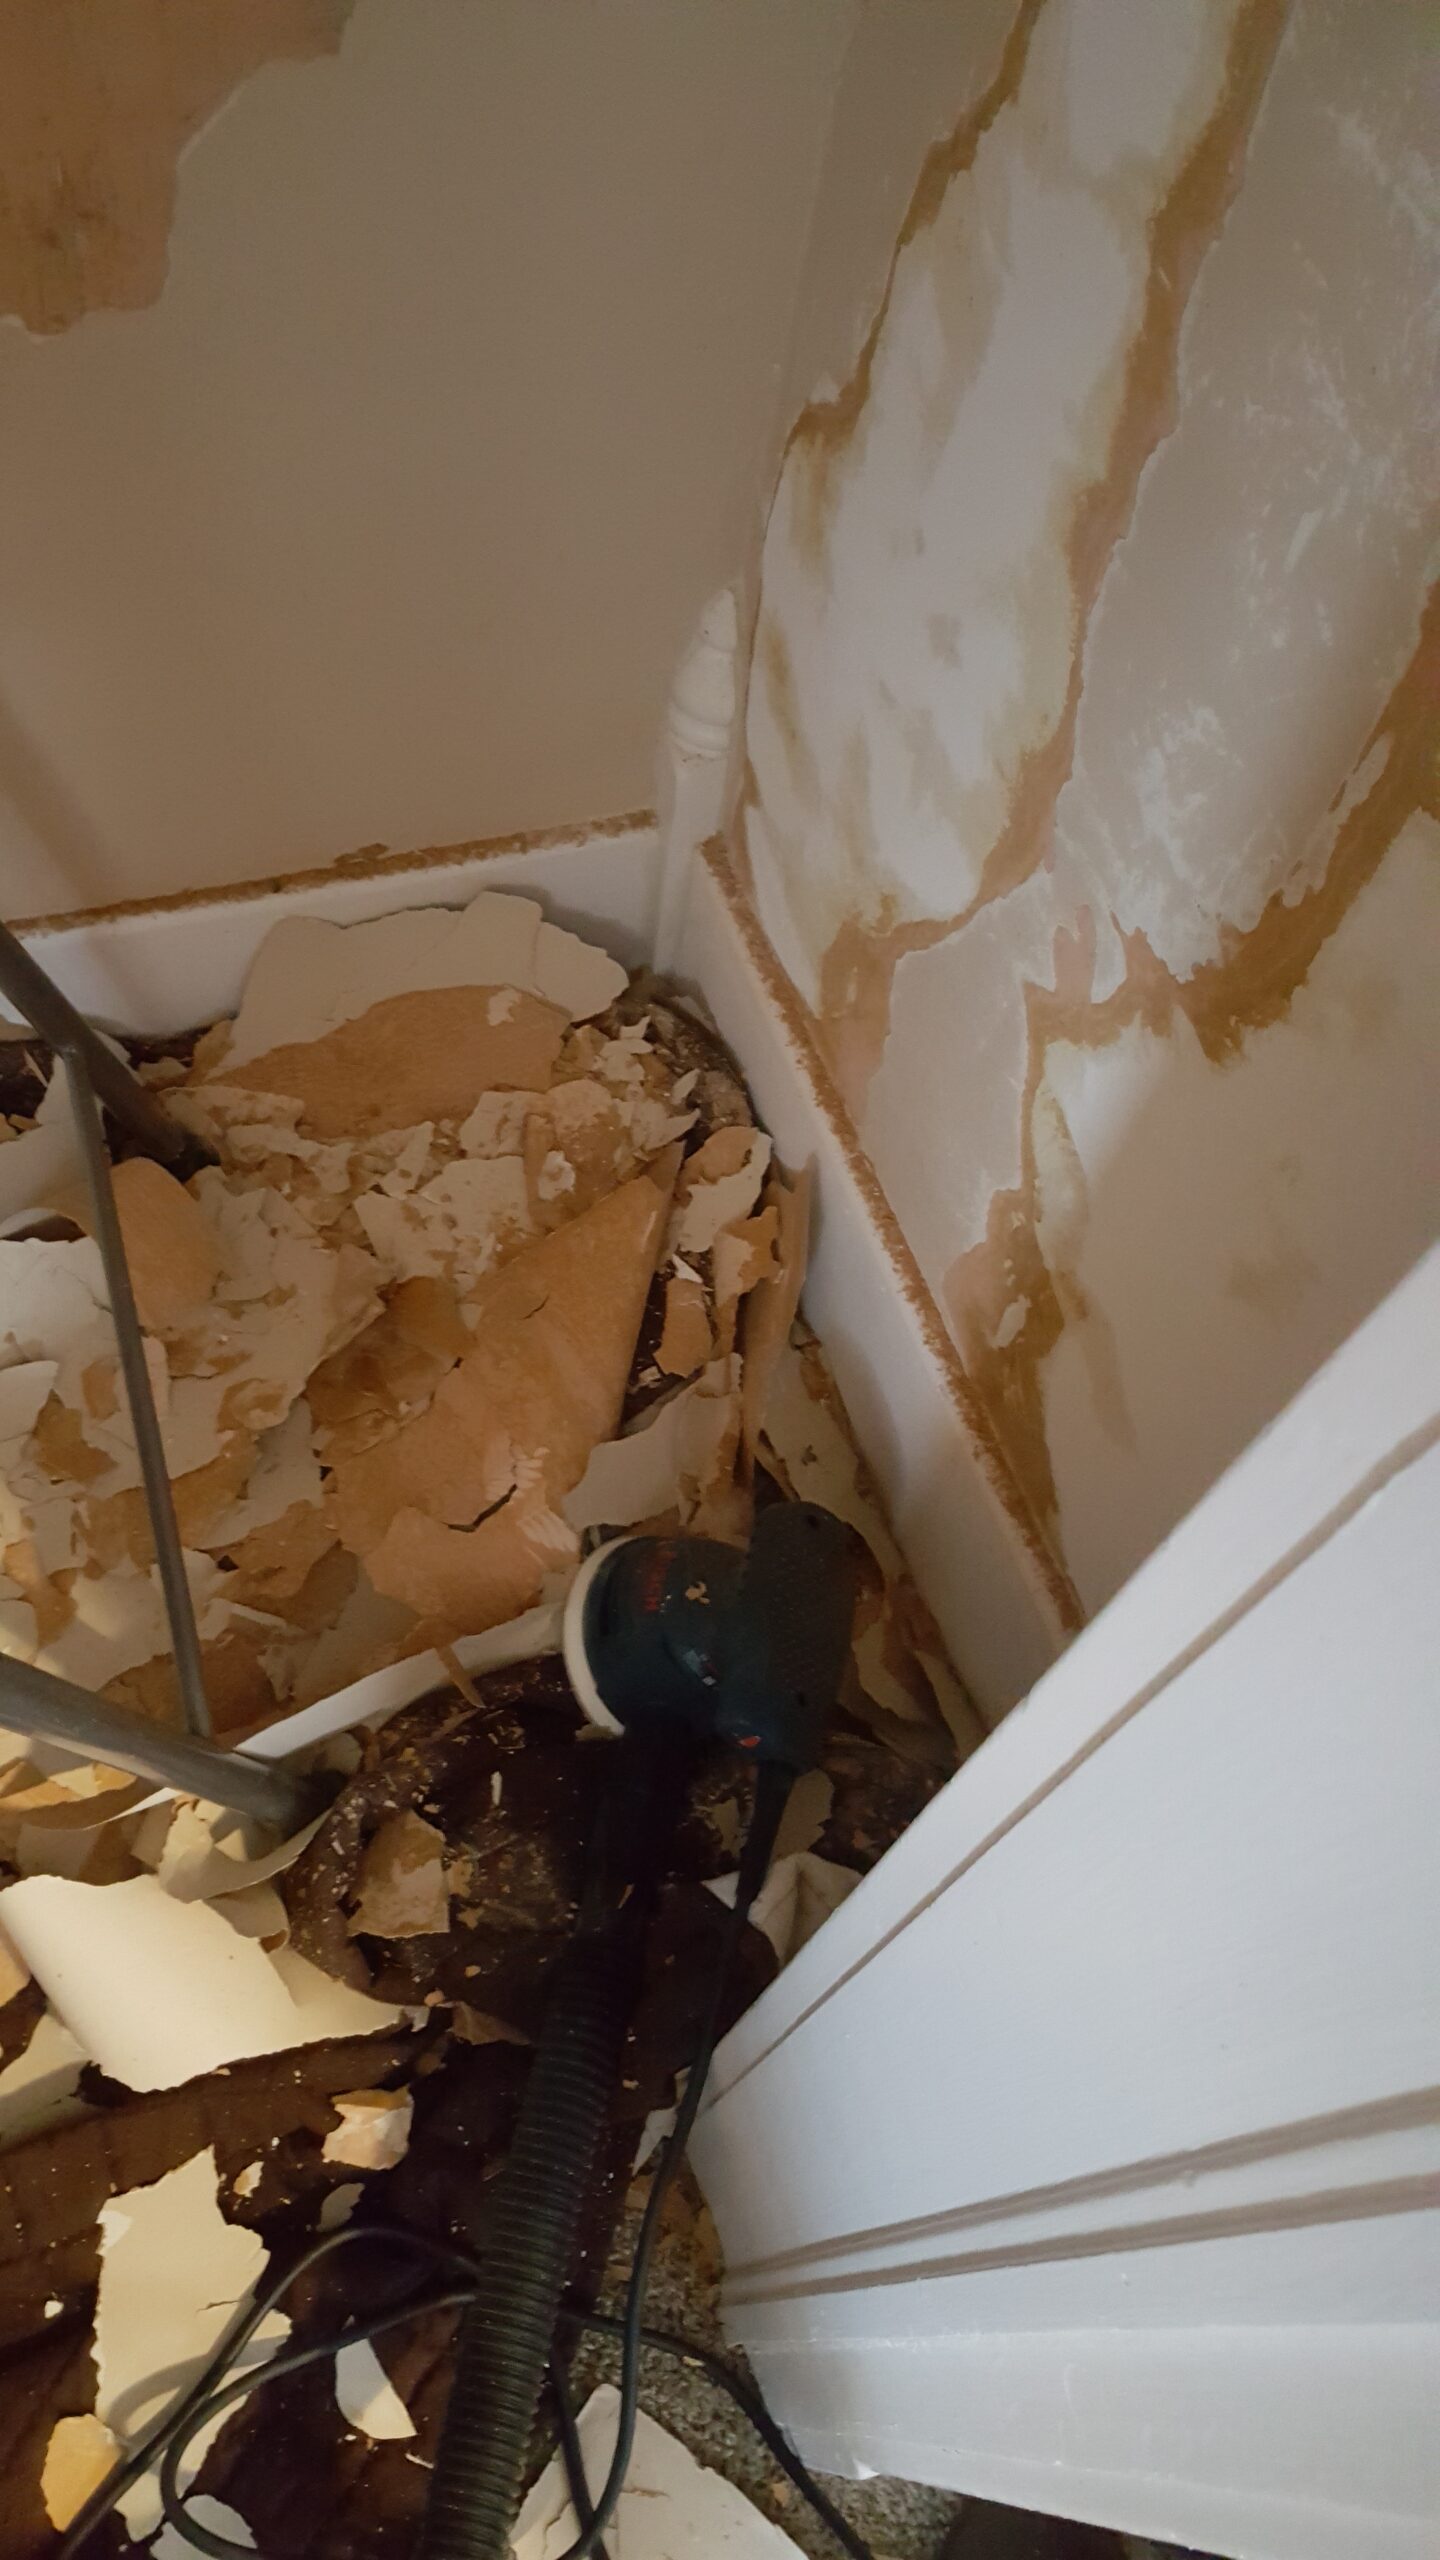
Step 2: scrape off old paintwork and wallpaper. Be sure to wear a mask. I also used a rotary Sanding tool and manual scraper. Very tiring exercise and messy!
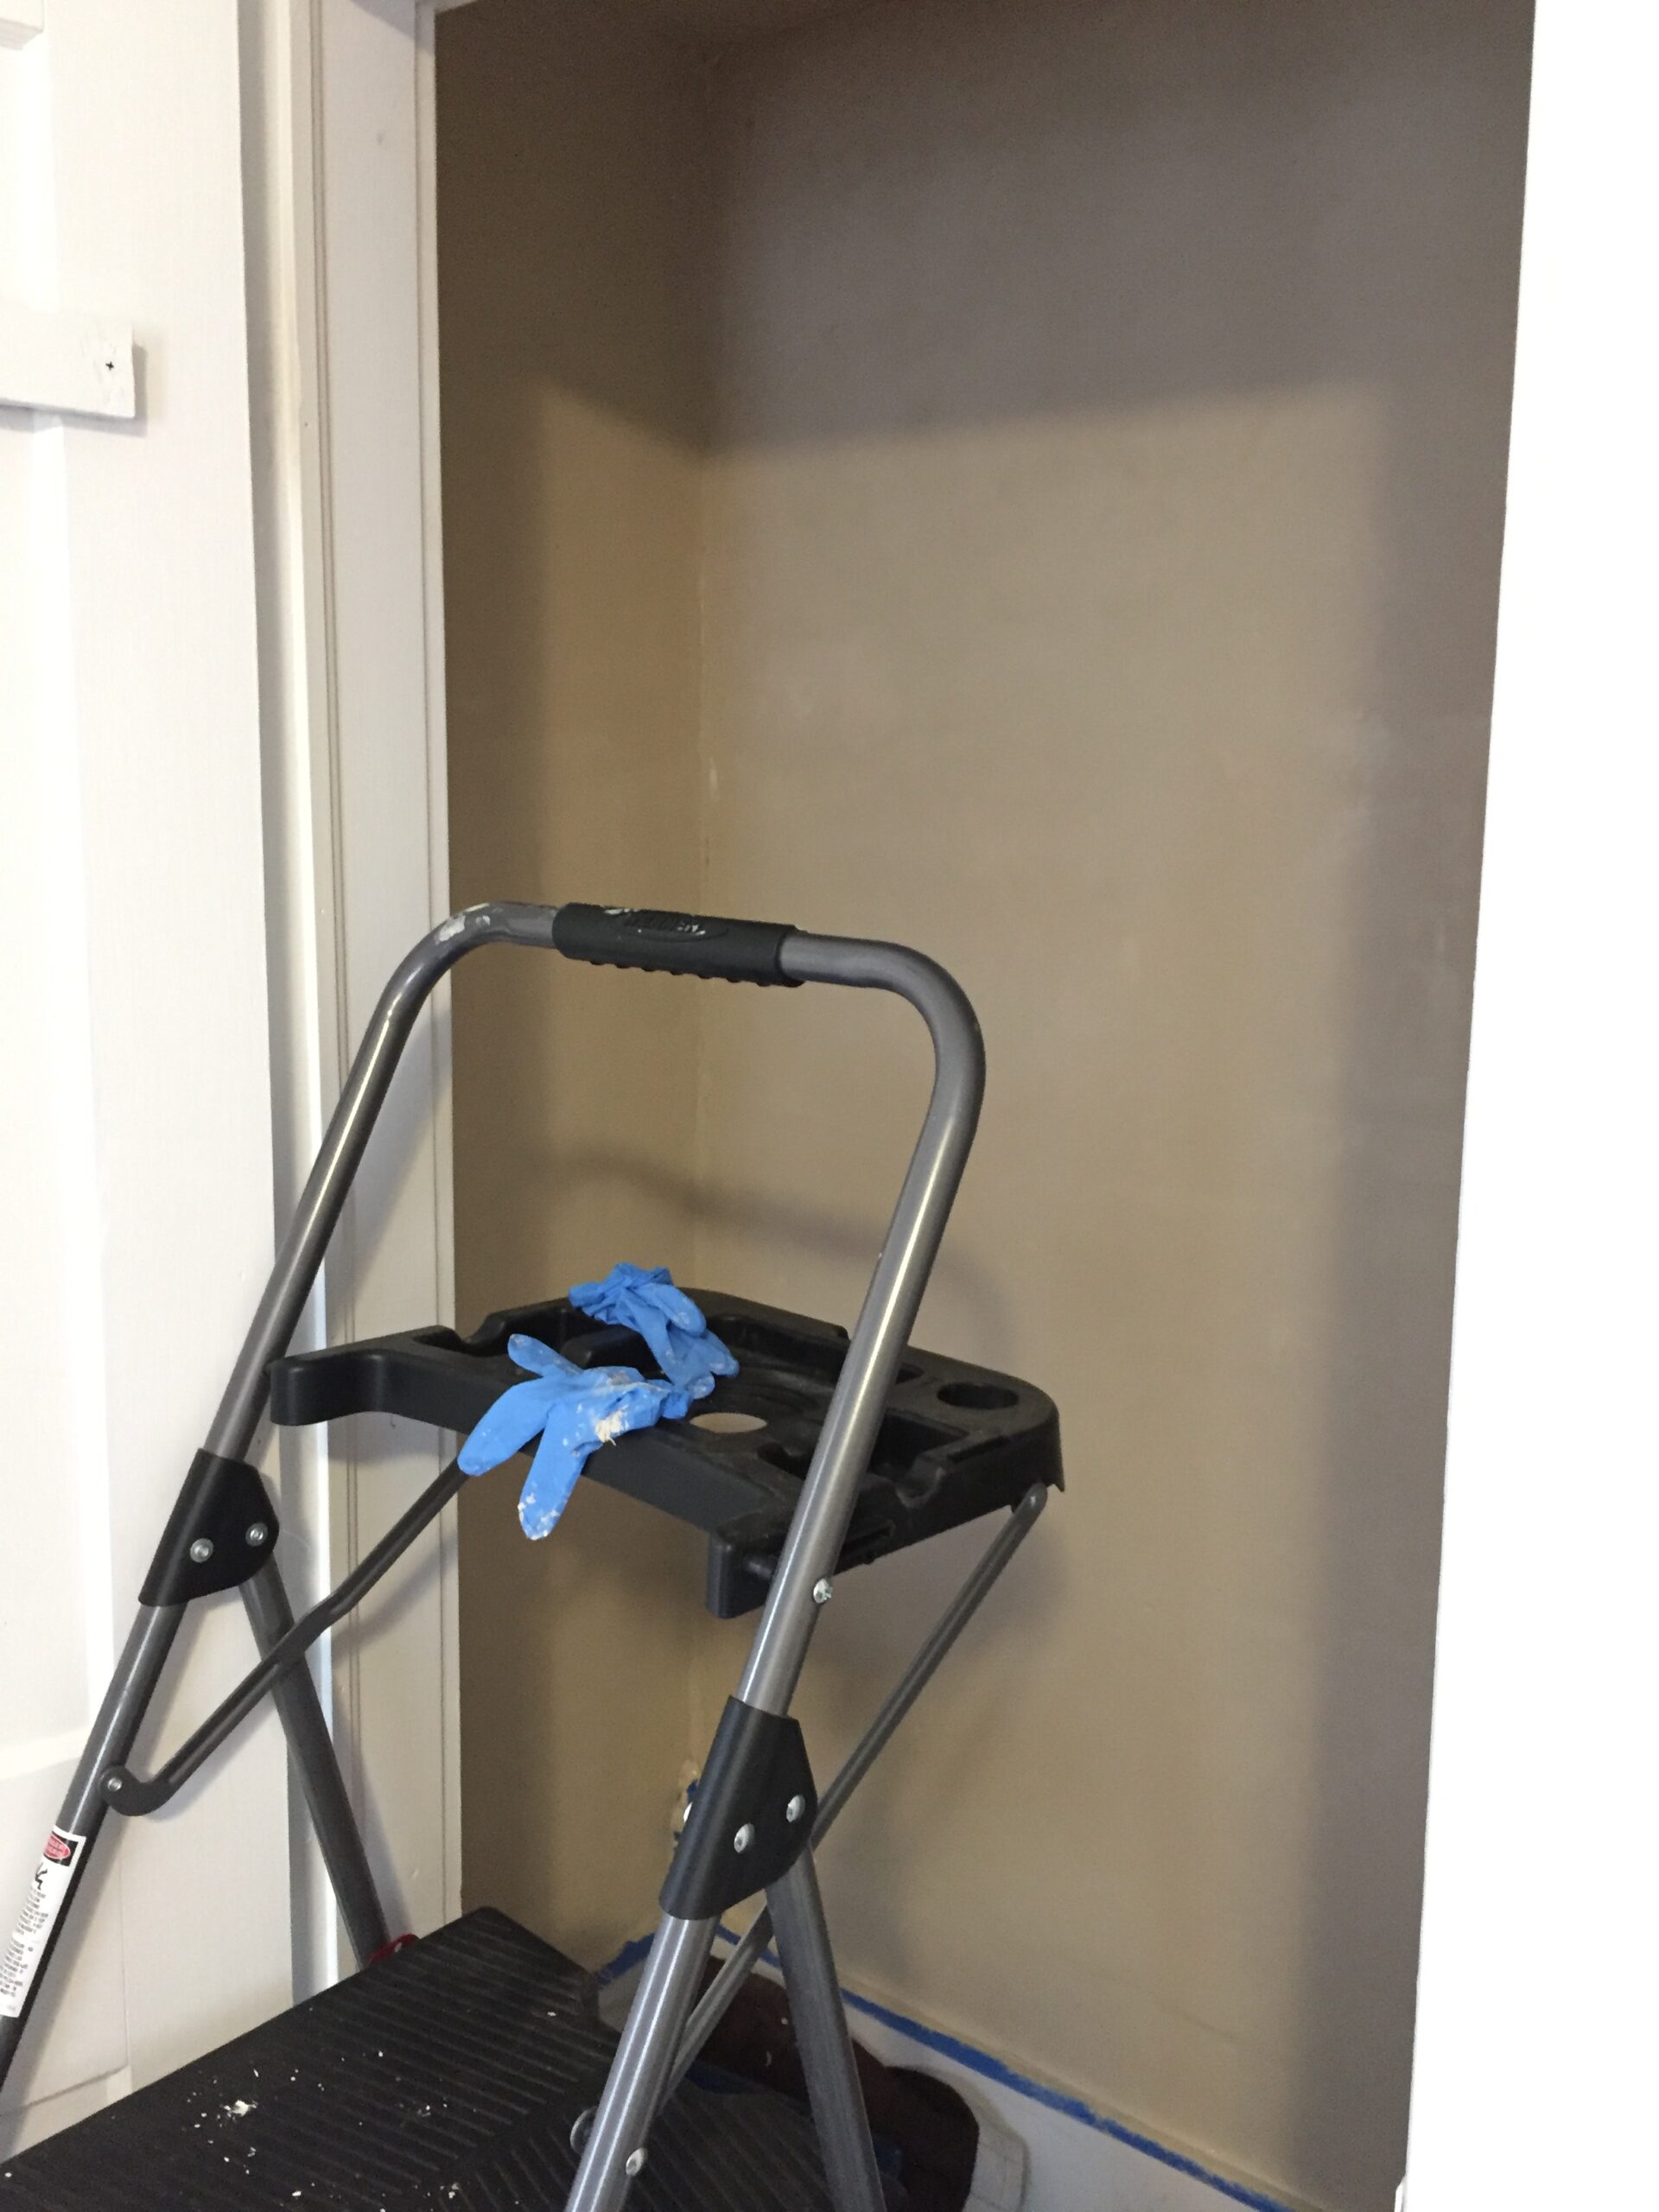
Step 3: New paint. Hurray!

Step 4: install new shelves
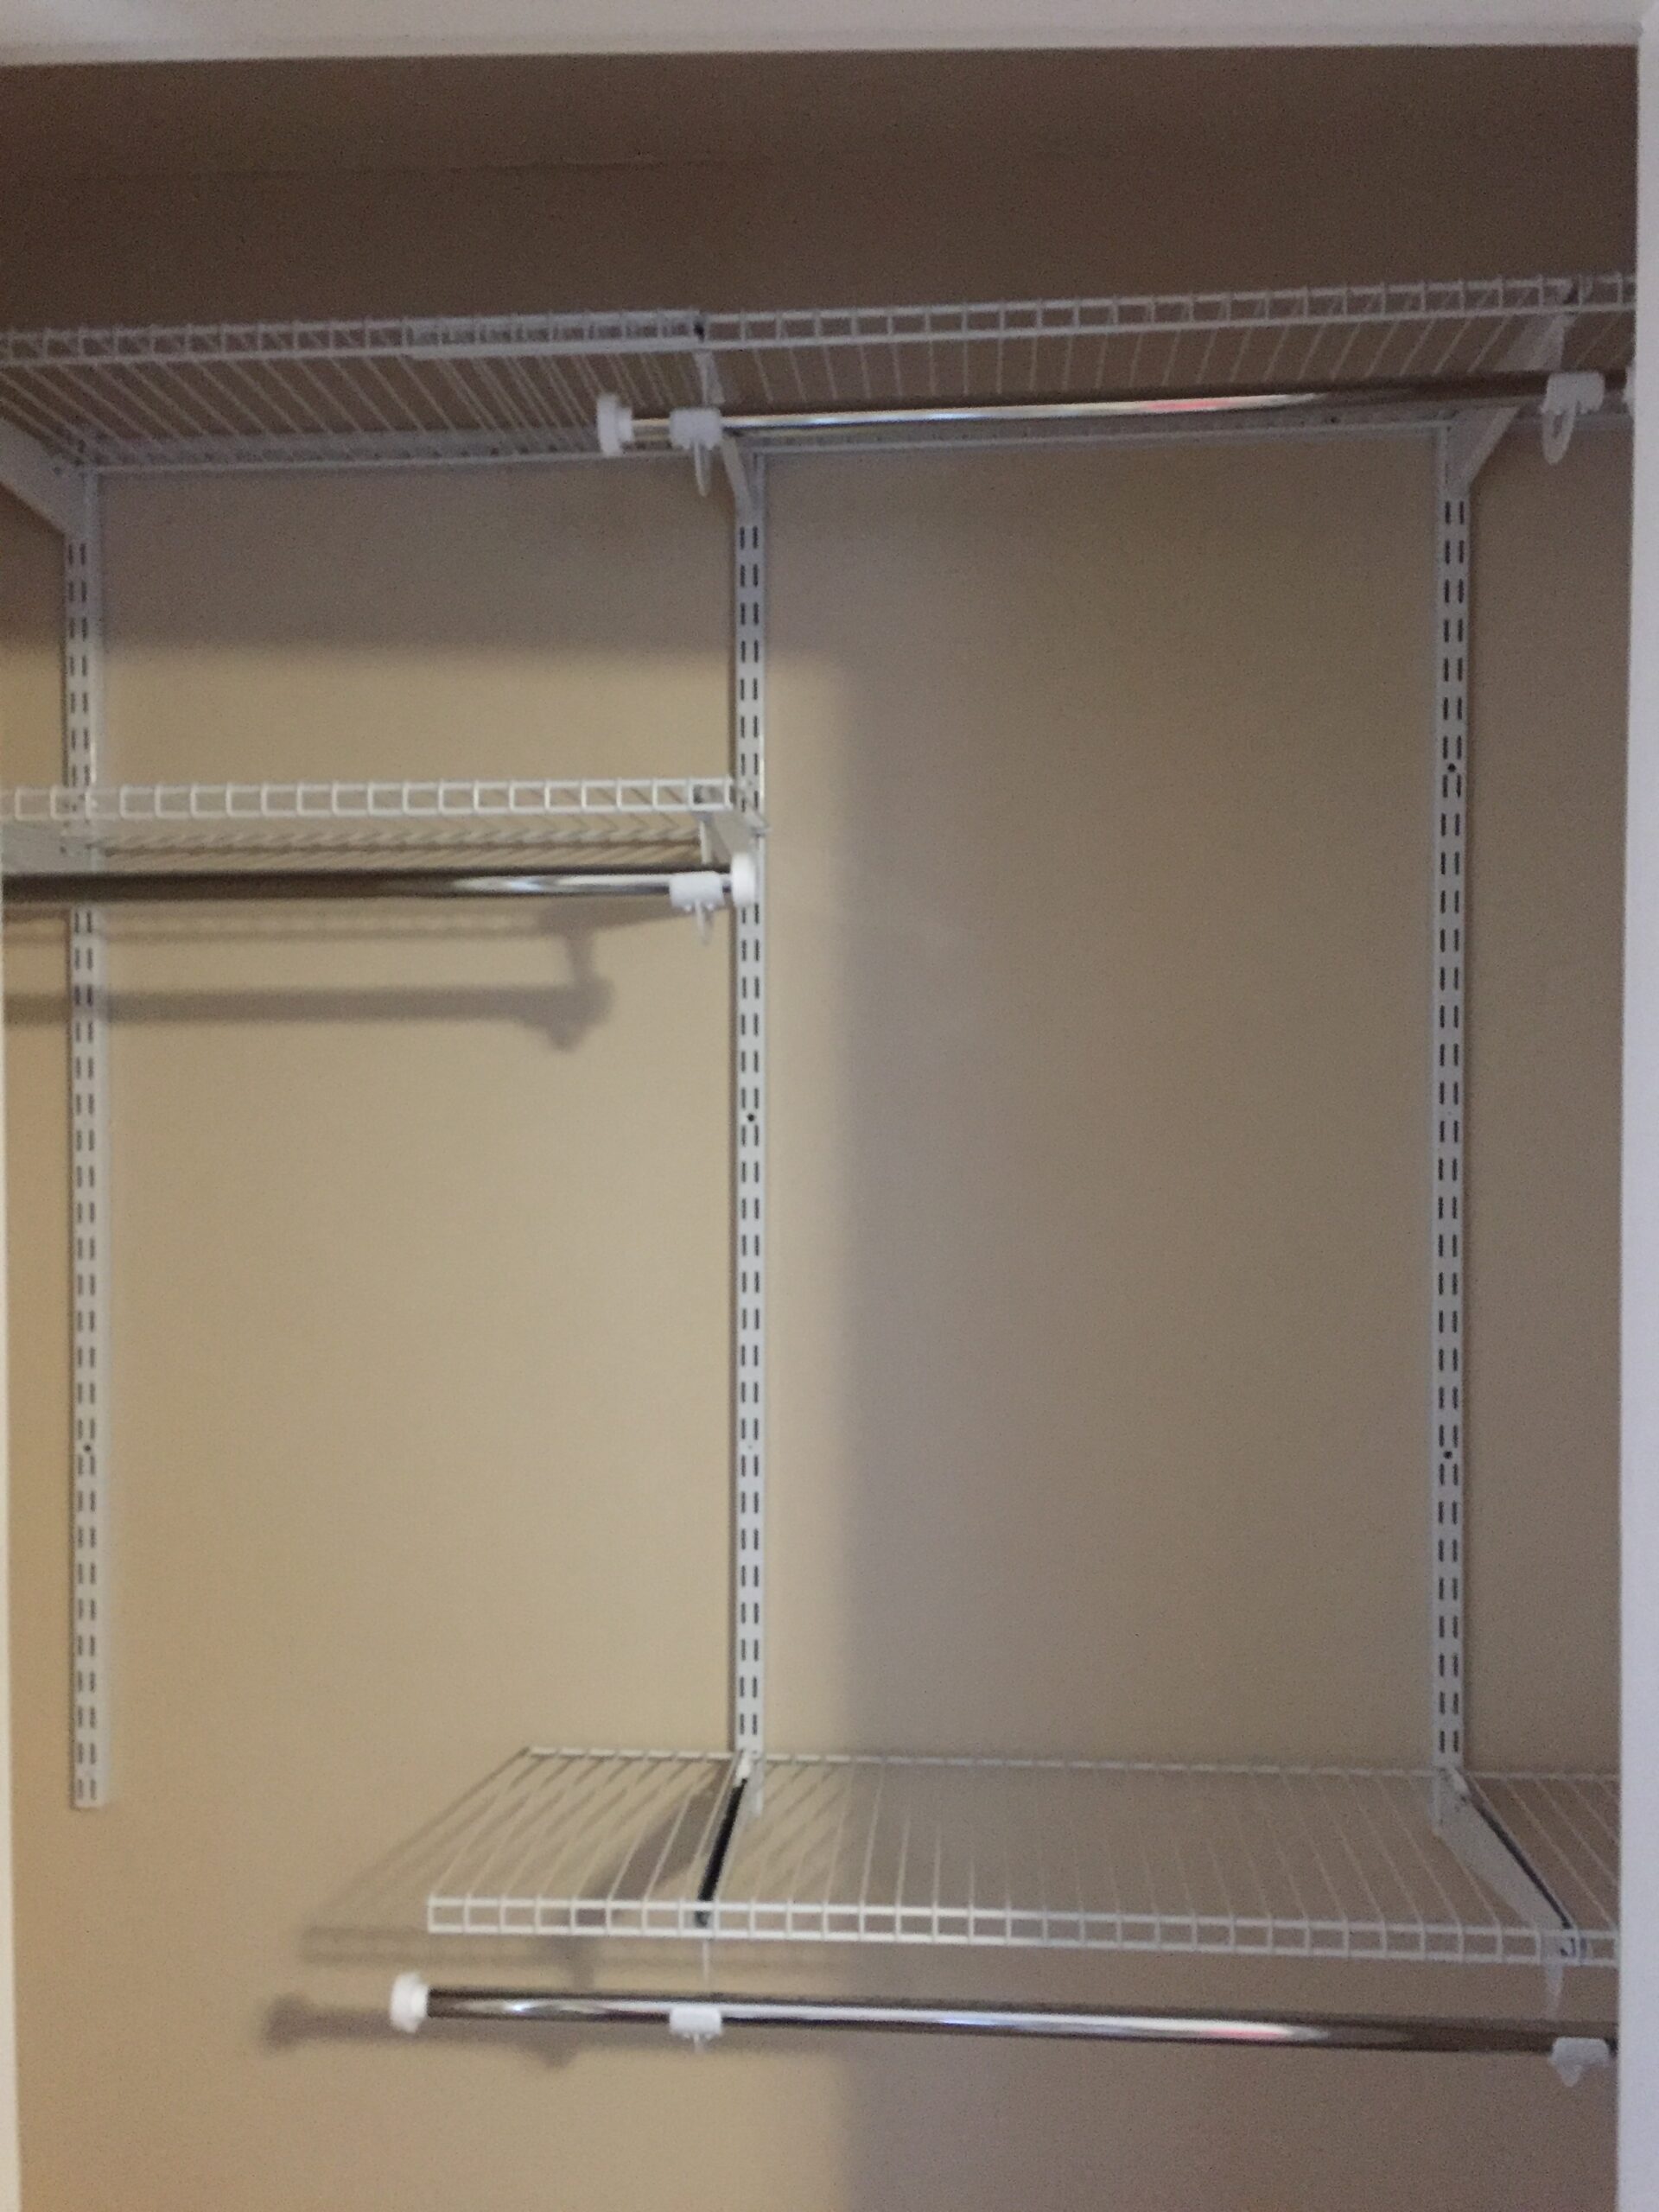
Step 5: hang some clothes and enjoy!