After moving to our new house recently, I decided to go all Apple Homekit for my smart devices. Our previous homes were all Z-wave and Zigbee. In the first house we turned into a smart home, it was Wink, then came SmartThings. There was a bit of Google Nest. In our next house, we used SmartThings, and later Home Assistant, with Ring for cameras and security. Needless to say I’ve had my experiences with smart home technologies. It is time to try something different, and since we are an all Apple household, I decided to give Homekit a shot. Homekit support for devices is very limited as compared to Z-wave/Zigbee/Wifi, however, a new protocol called Matter is going to ensure cross-ecosystem compatibility. Until then, I am planning to use Homebridge, which as the name suggests is a bridge between Homekit, and the rest of the smart home ecosystems.
Installing Homebridge is very easy for a docker installation. Head over to https://github.com/homebridge/homebridge/wiki/Install-Homebridge-on-Docker for instructions.
After install, you’re greeted with the setup screen, and then the home screen. It was a painless setup!
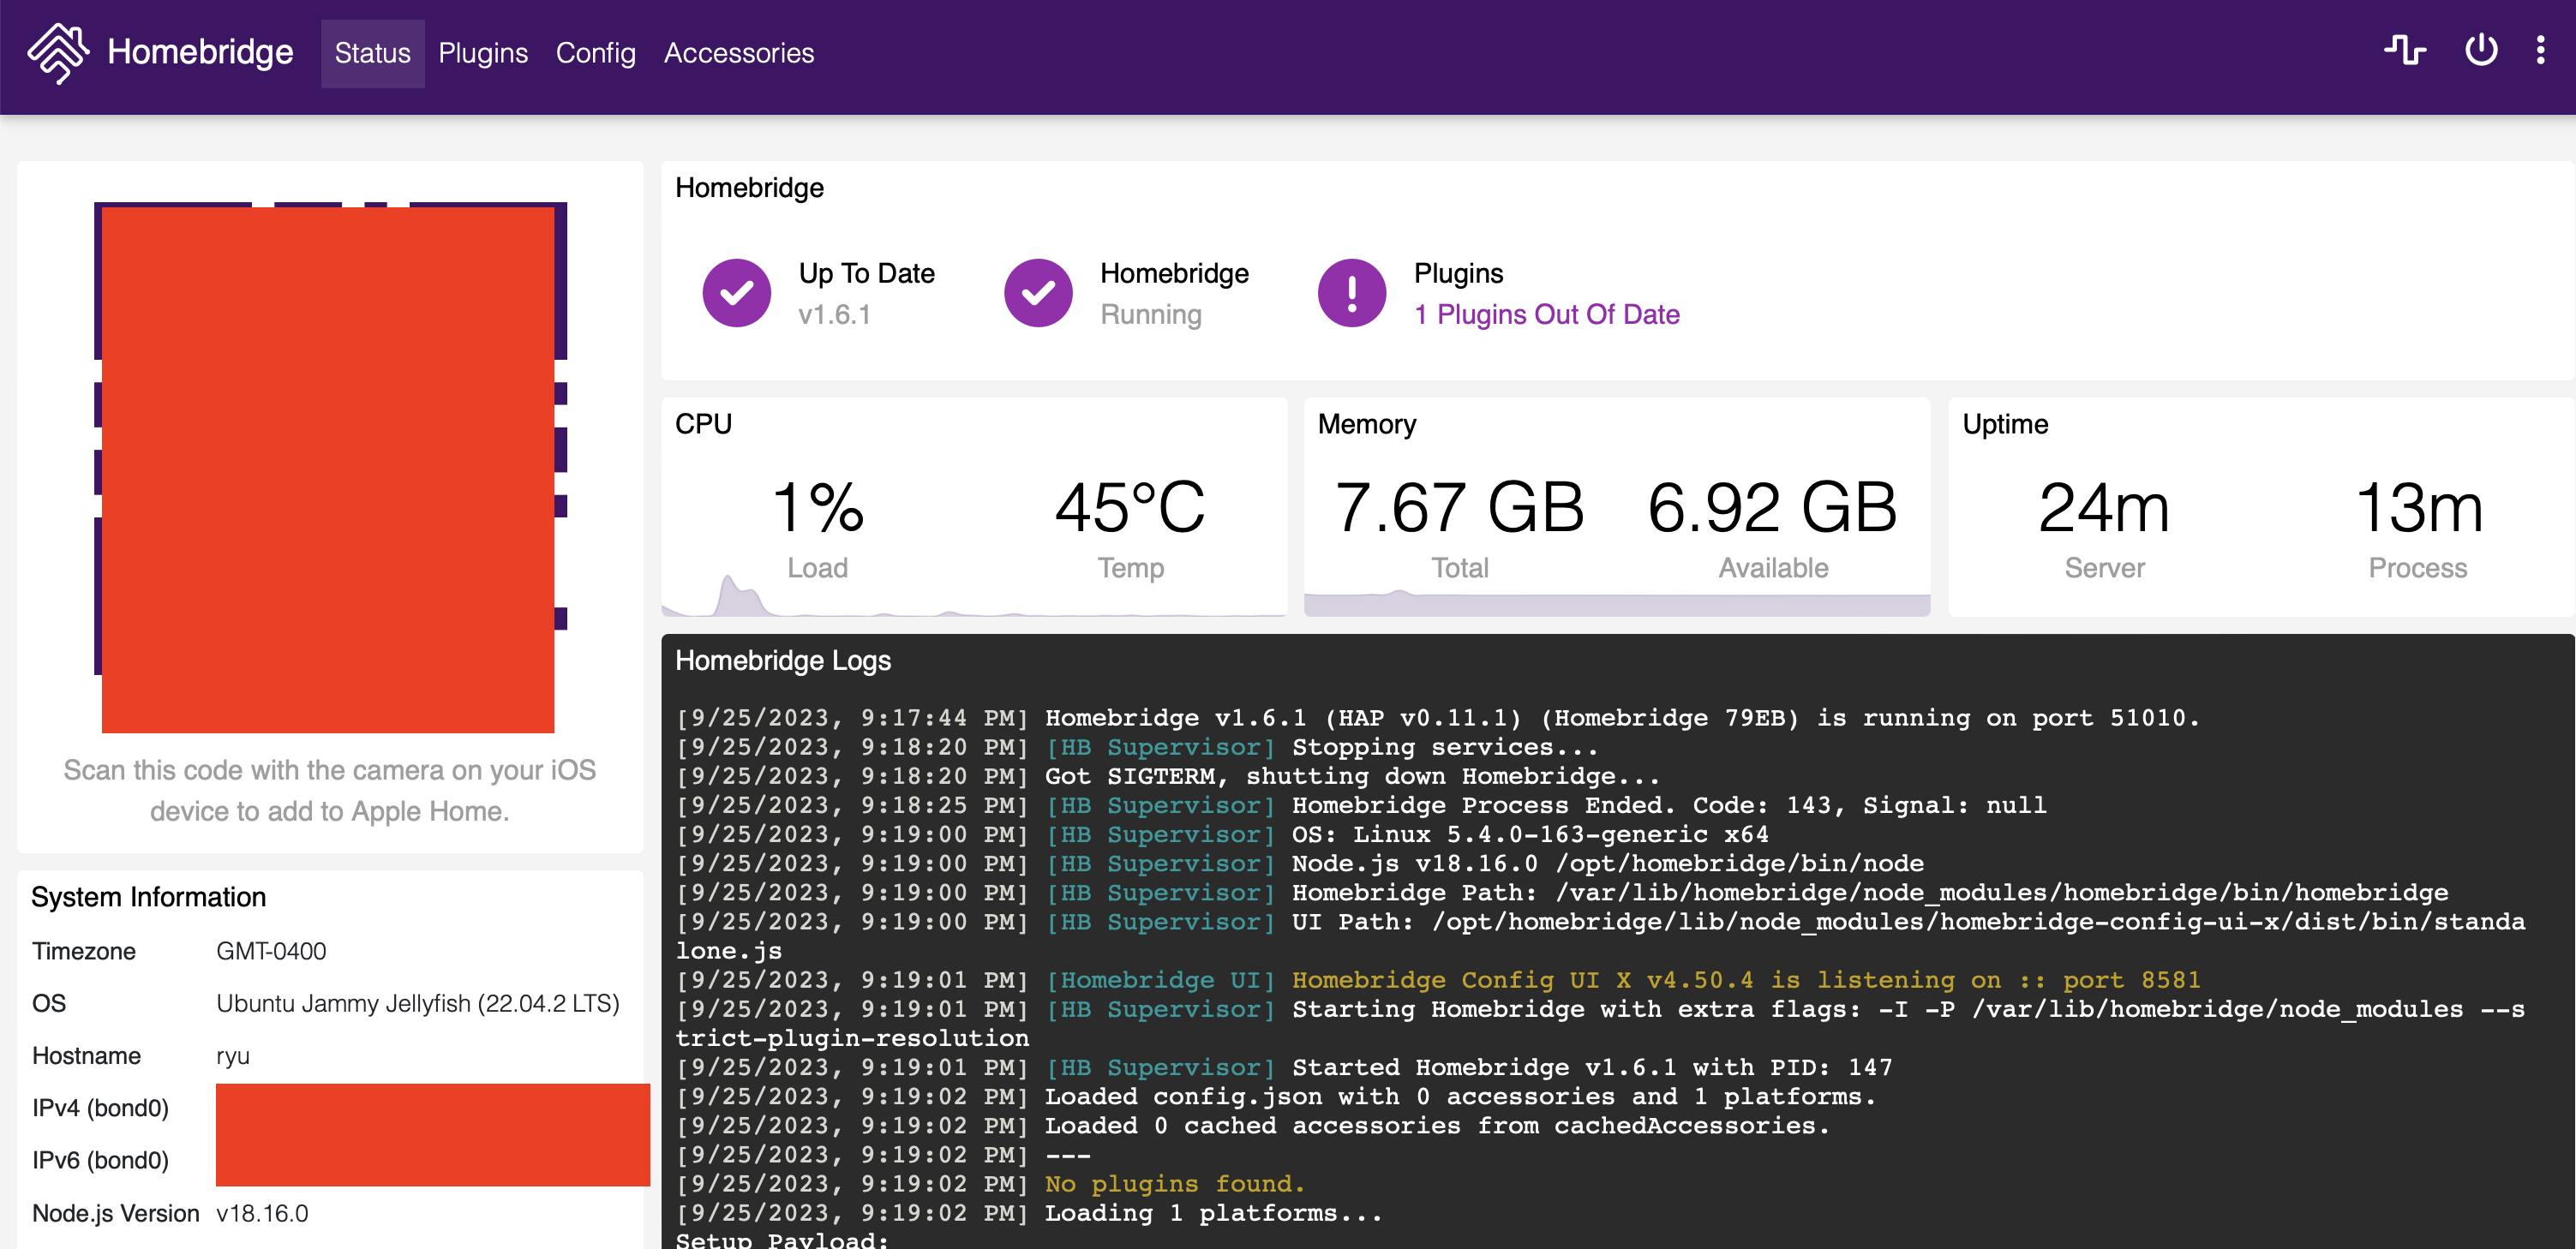
System is ready to install devices!
Thank you for sharing this detailed guide on Homebridge installation! It’s incredibly helpful for anyone looking to integrate different smart home devices seamlessly. Your clear instructions and troubleshooting tips make the process much more accessible. Great work!
Thank you for the fantastic article! I’ve been contemplating enhancing my home with smart devices, and your insights have been incredibly helpful. The information you provided has given me a clearer understanding of the benefits and options available.